
Eeeekk!
This has been such a long time coming and it's still not done but I cant wait to share.
I am taking my time to complete it and really consider what will work well and make the transition from baby/toddler to young children for my girlies.
This has been such a long time coming and it's still not done but I cant wait to share.
I am taking my time to complete it and really consider what will work well and make the transition from baby/toddler to young children for my girlies.
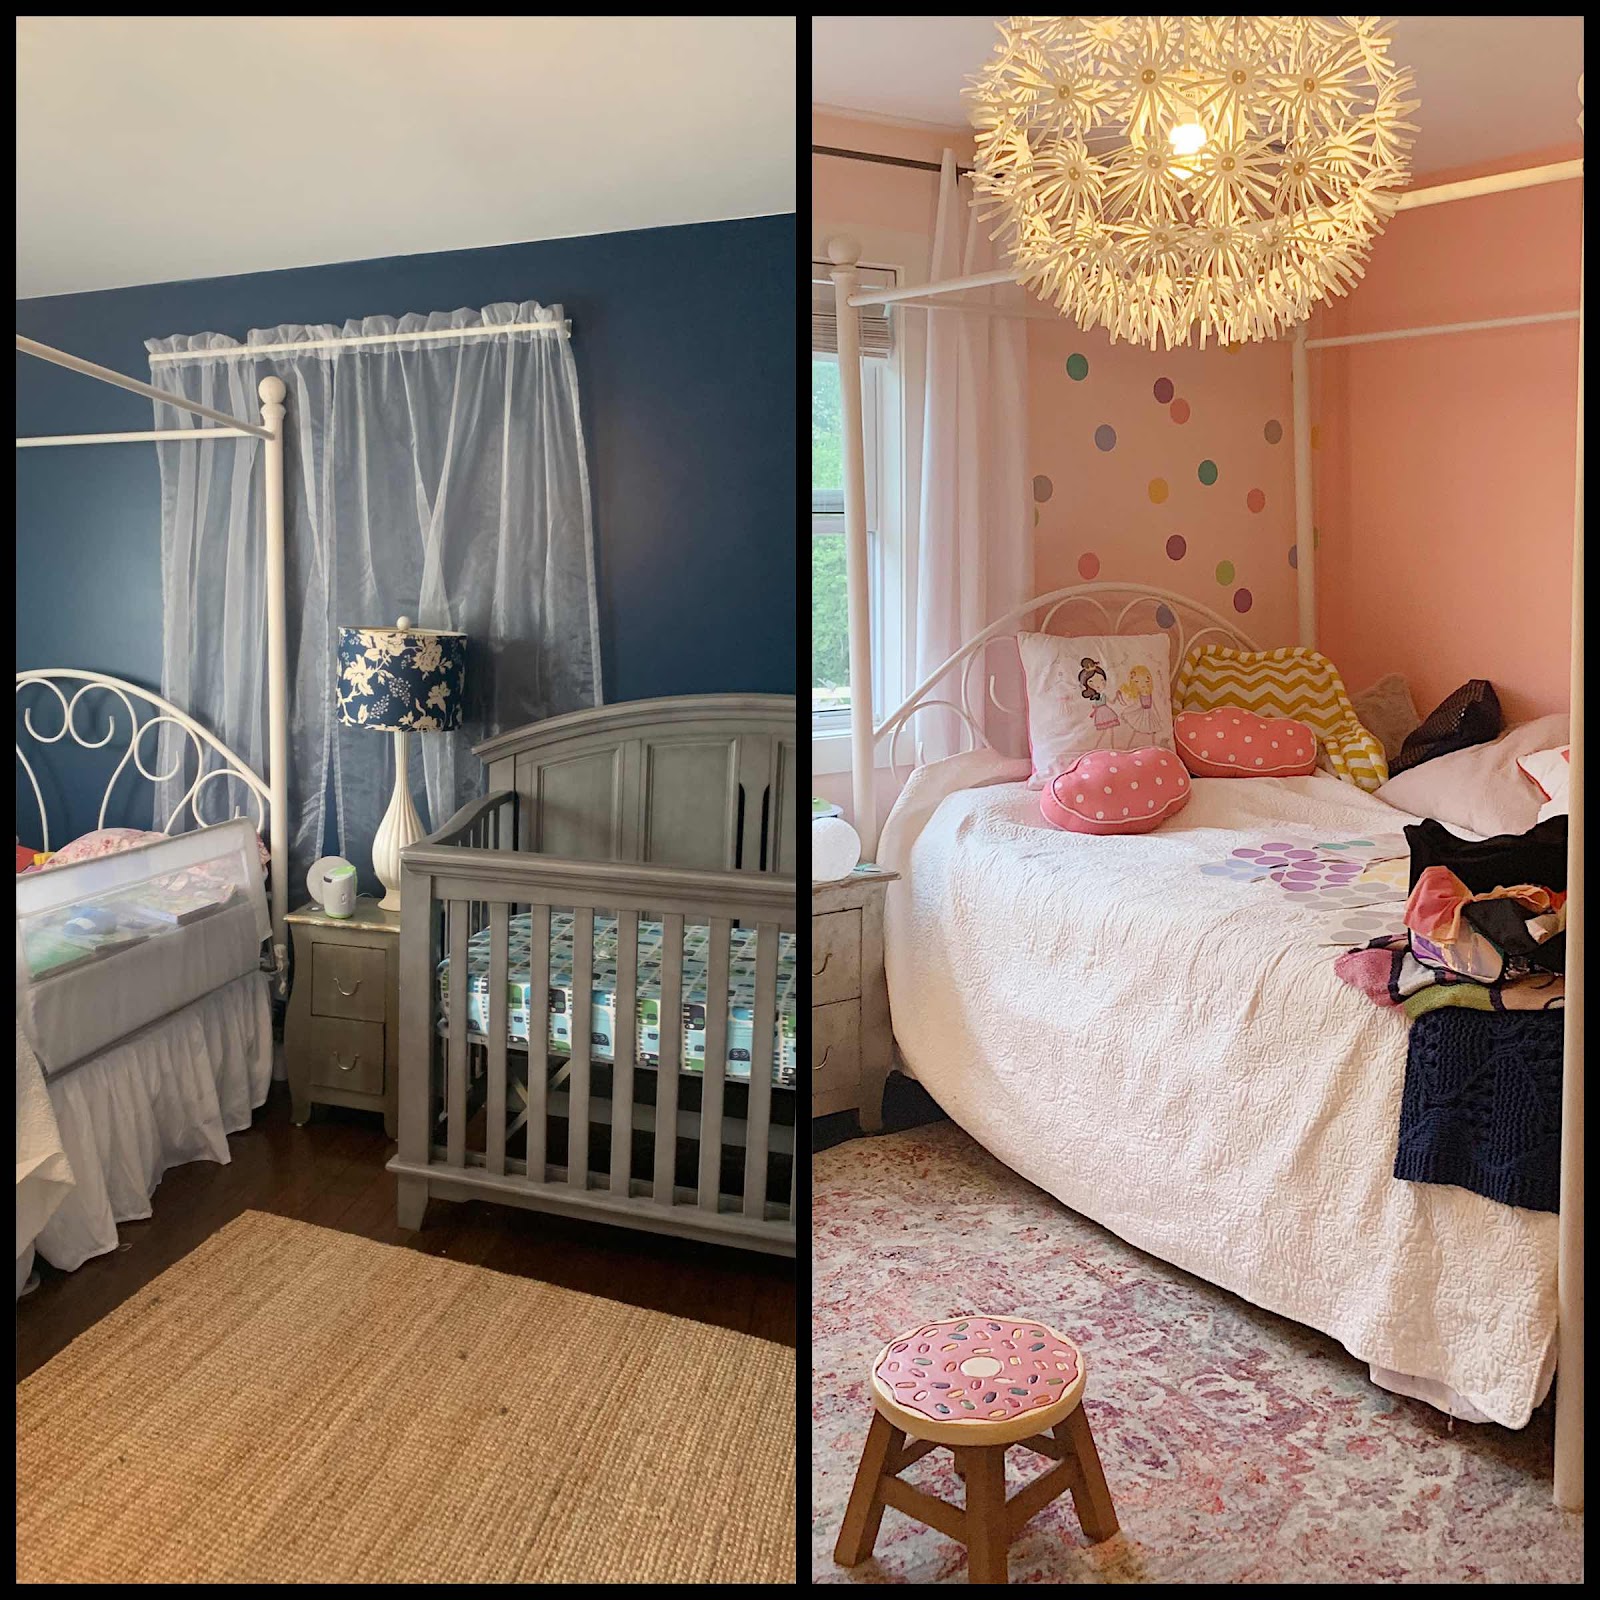
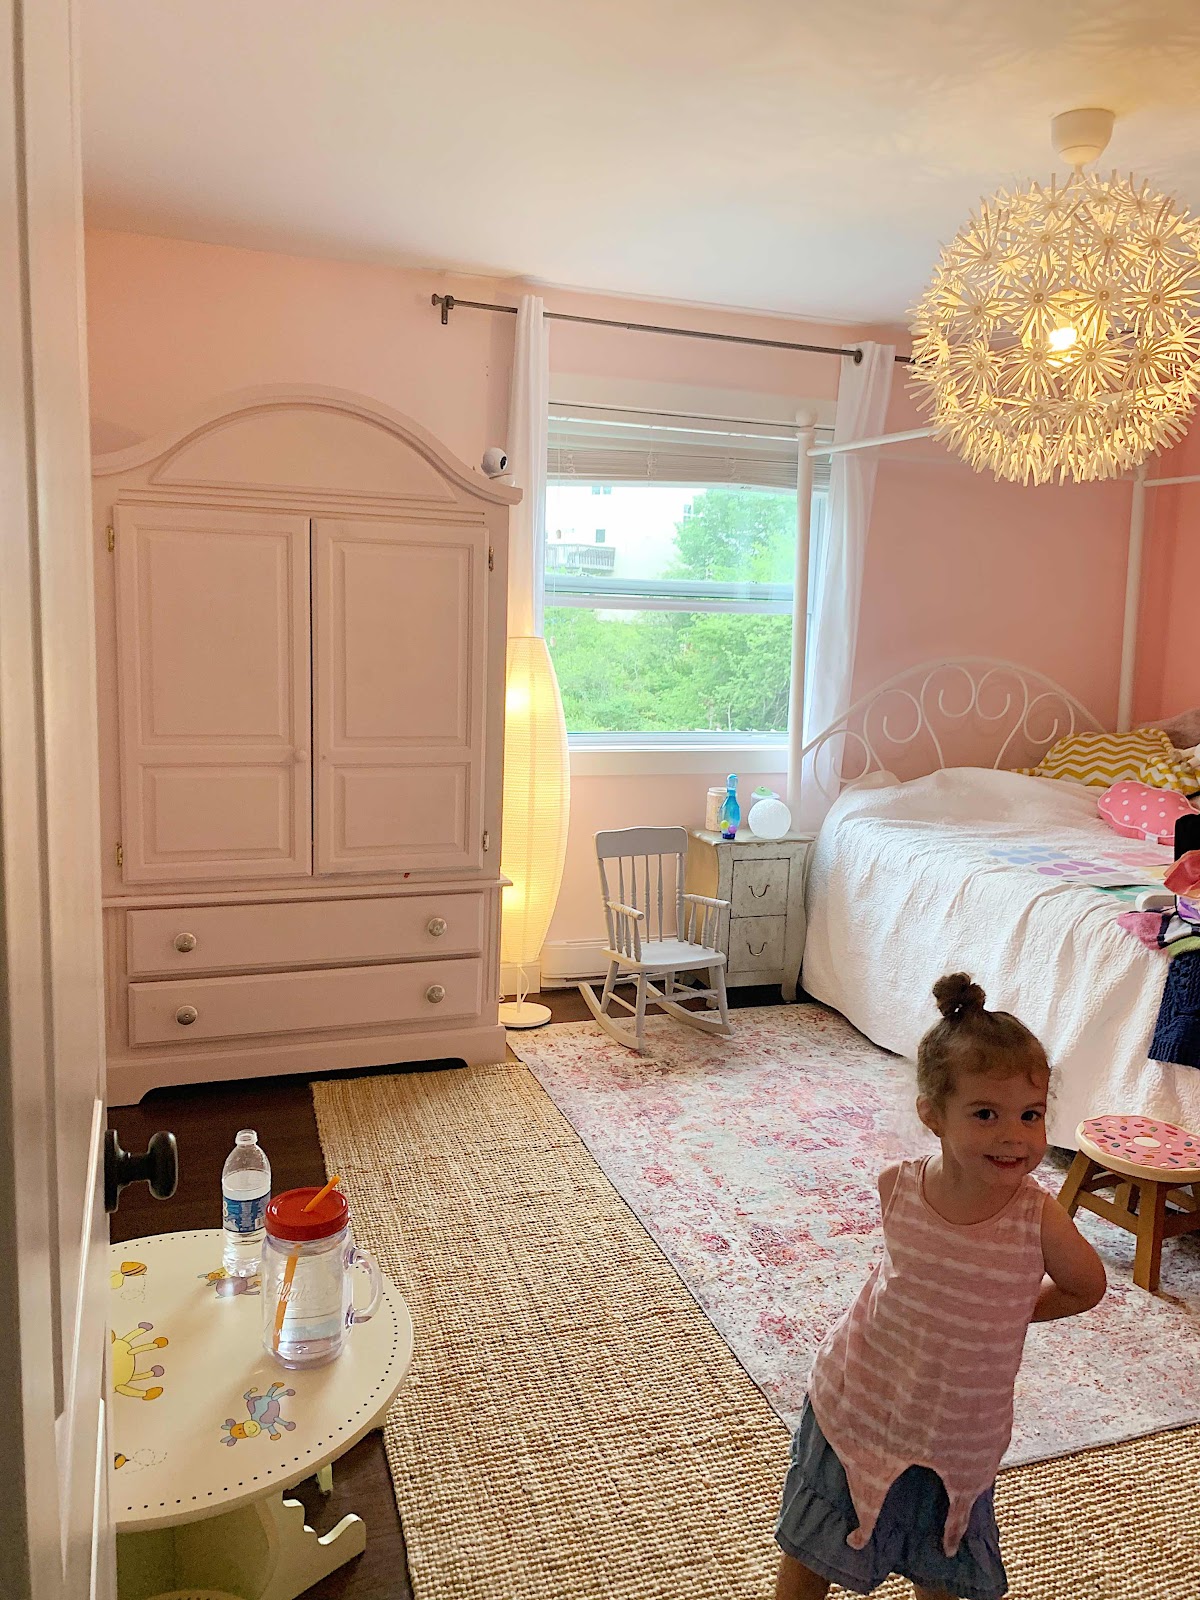
I LOVE a navy room but it just wasn't working for us anymore and honestly, it was looking worn and chipped.
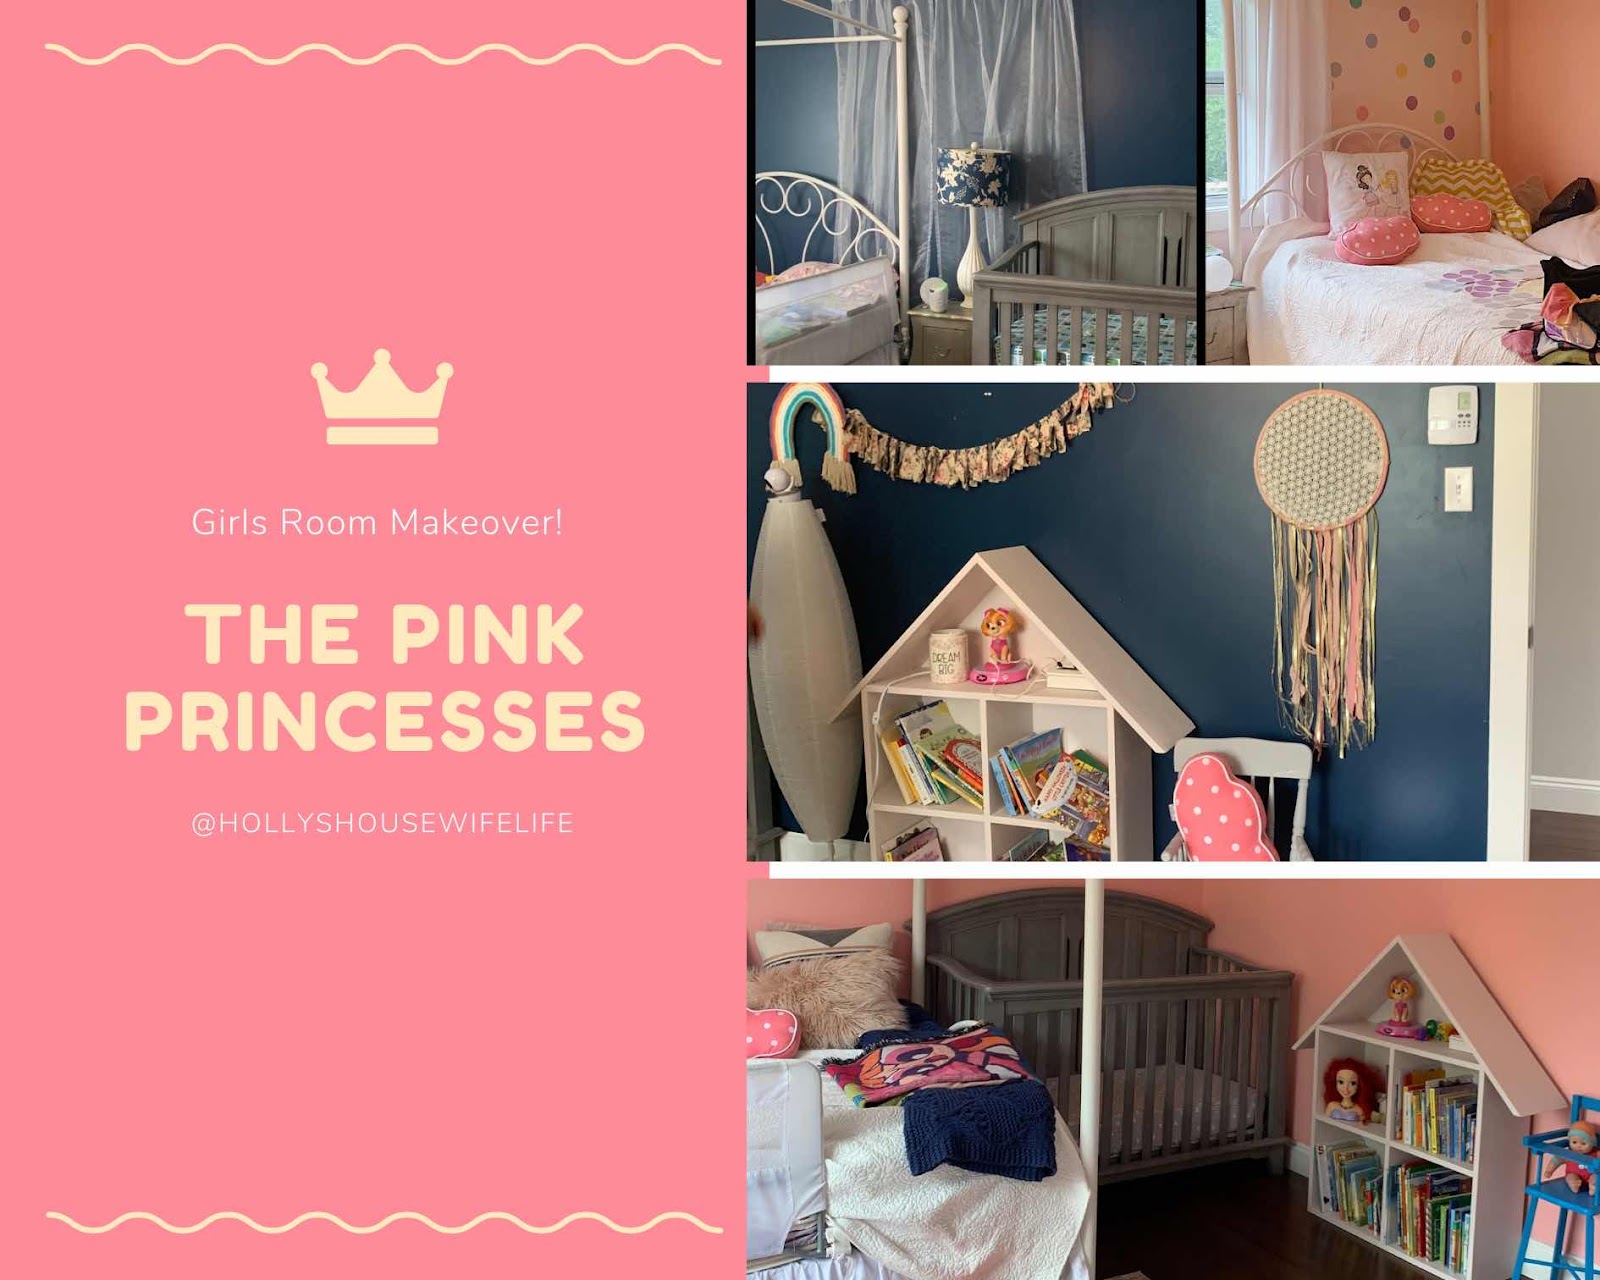
Noelle's favorite color is PINK!
So I knew it would be some form of pink but I wasn't sure if I wanted to go pale blush, I feel like I have so much blush in the house, I wanted something a little different.
Primer, primer, primer!
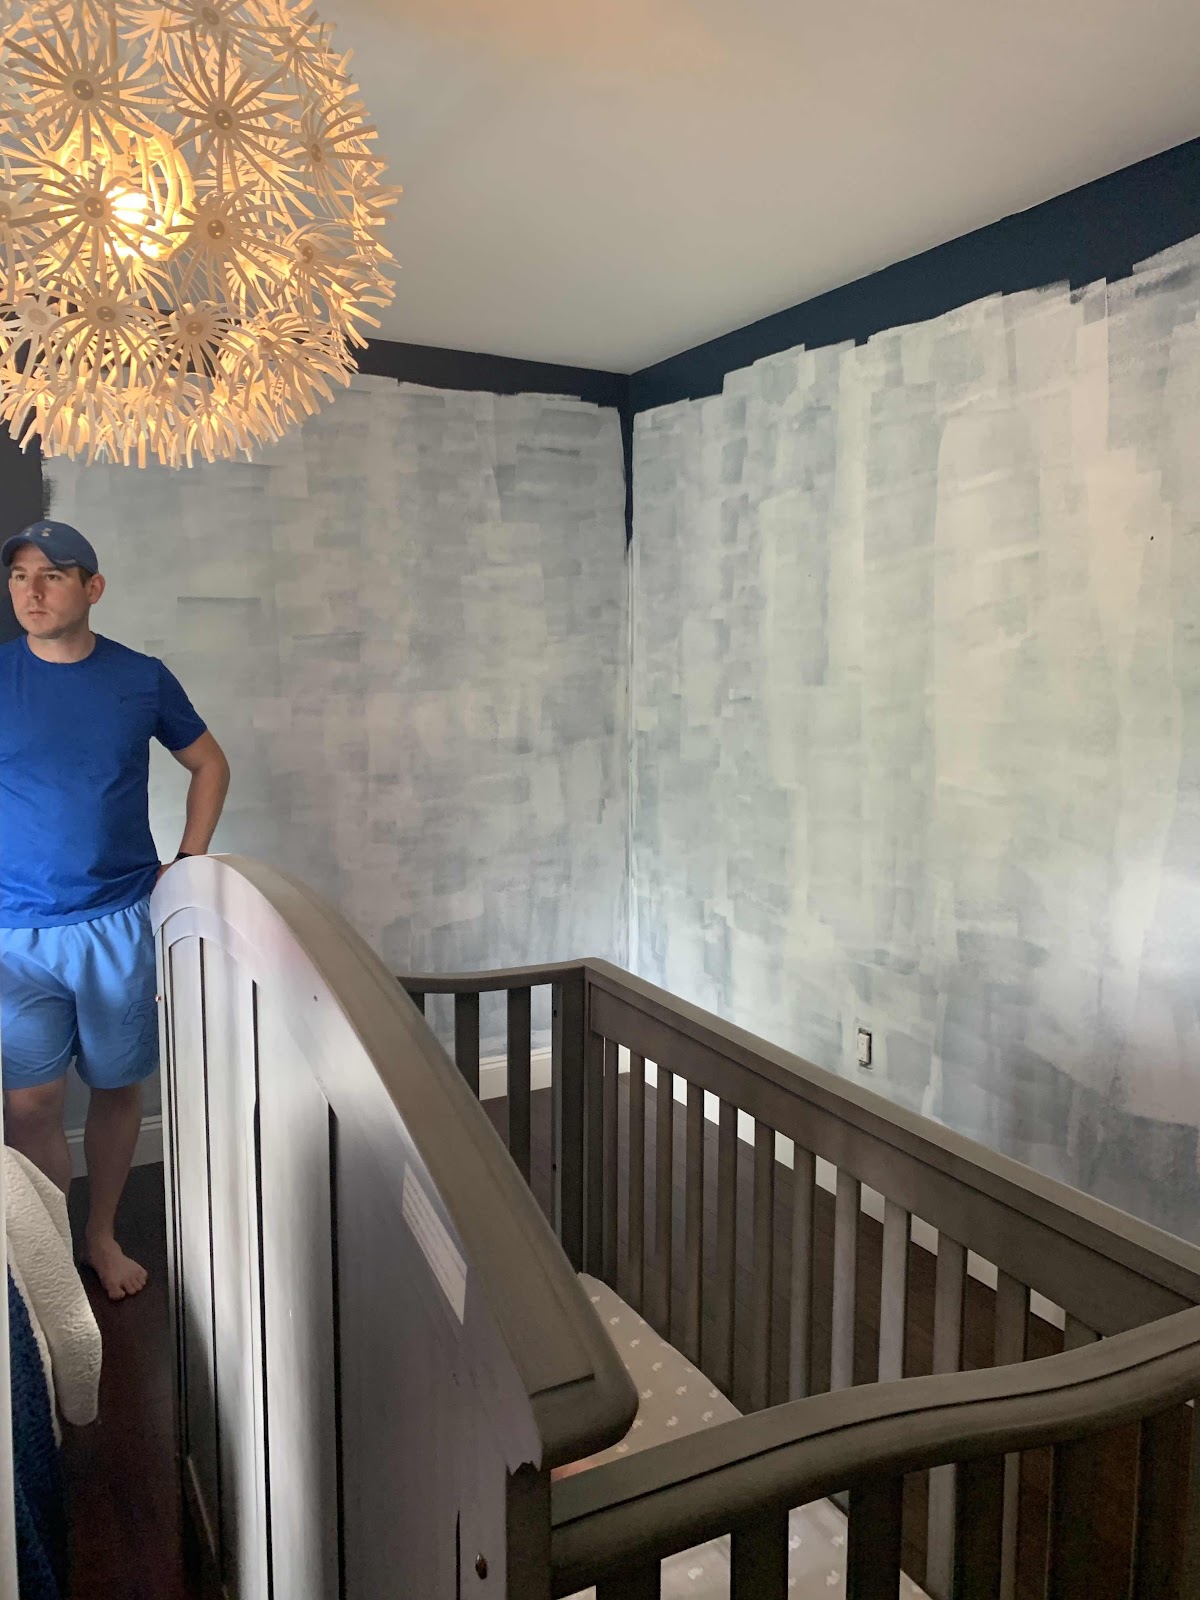
It was going to take a few coats of primer!
We did 2 but we could have done 3.
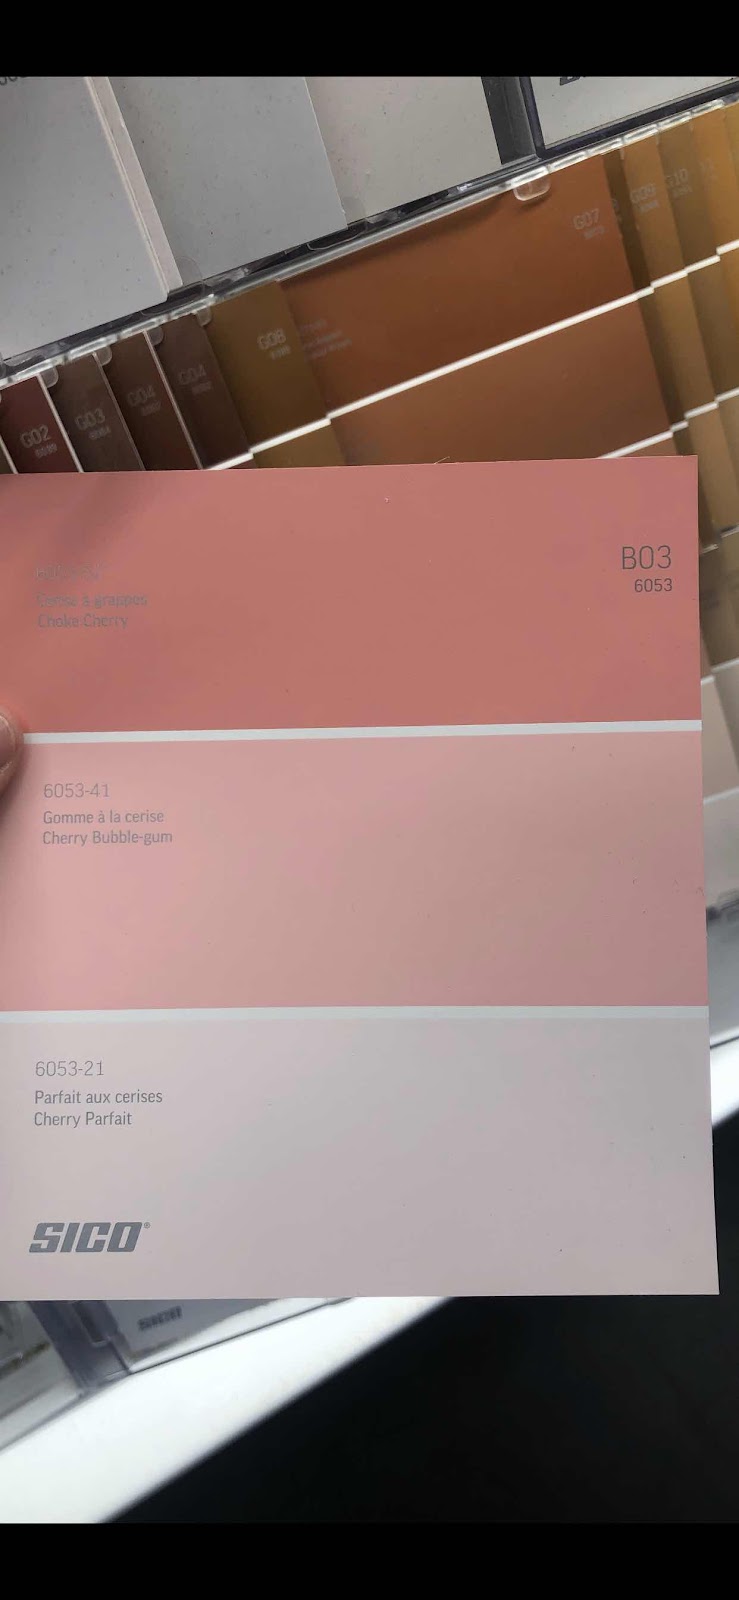
I gave Nick some colour inspo and asked him to send me the closest thing he could find, he sent this colour trio from Kent Building Supplies Sico line and I love it!
2 walls in Cherry Bubble Gum
2 walls in Cherry Parfait
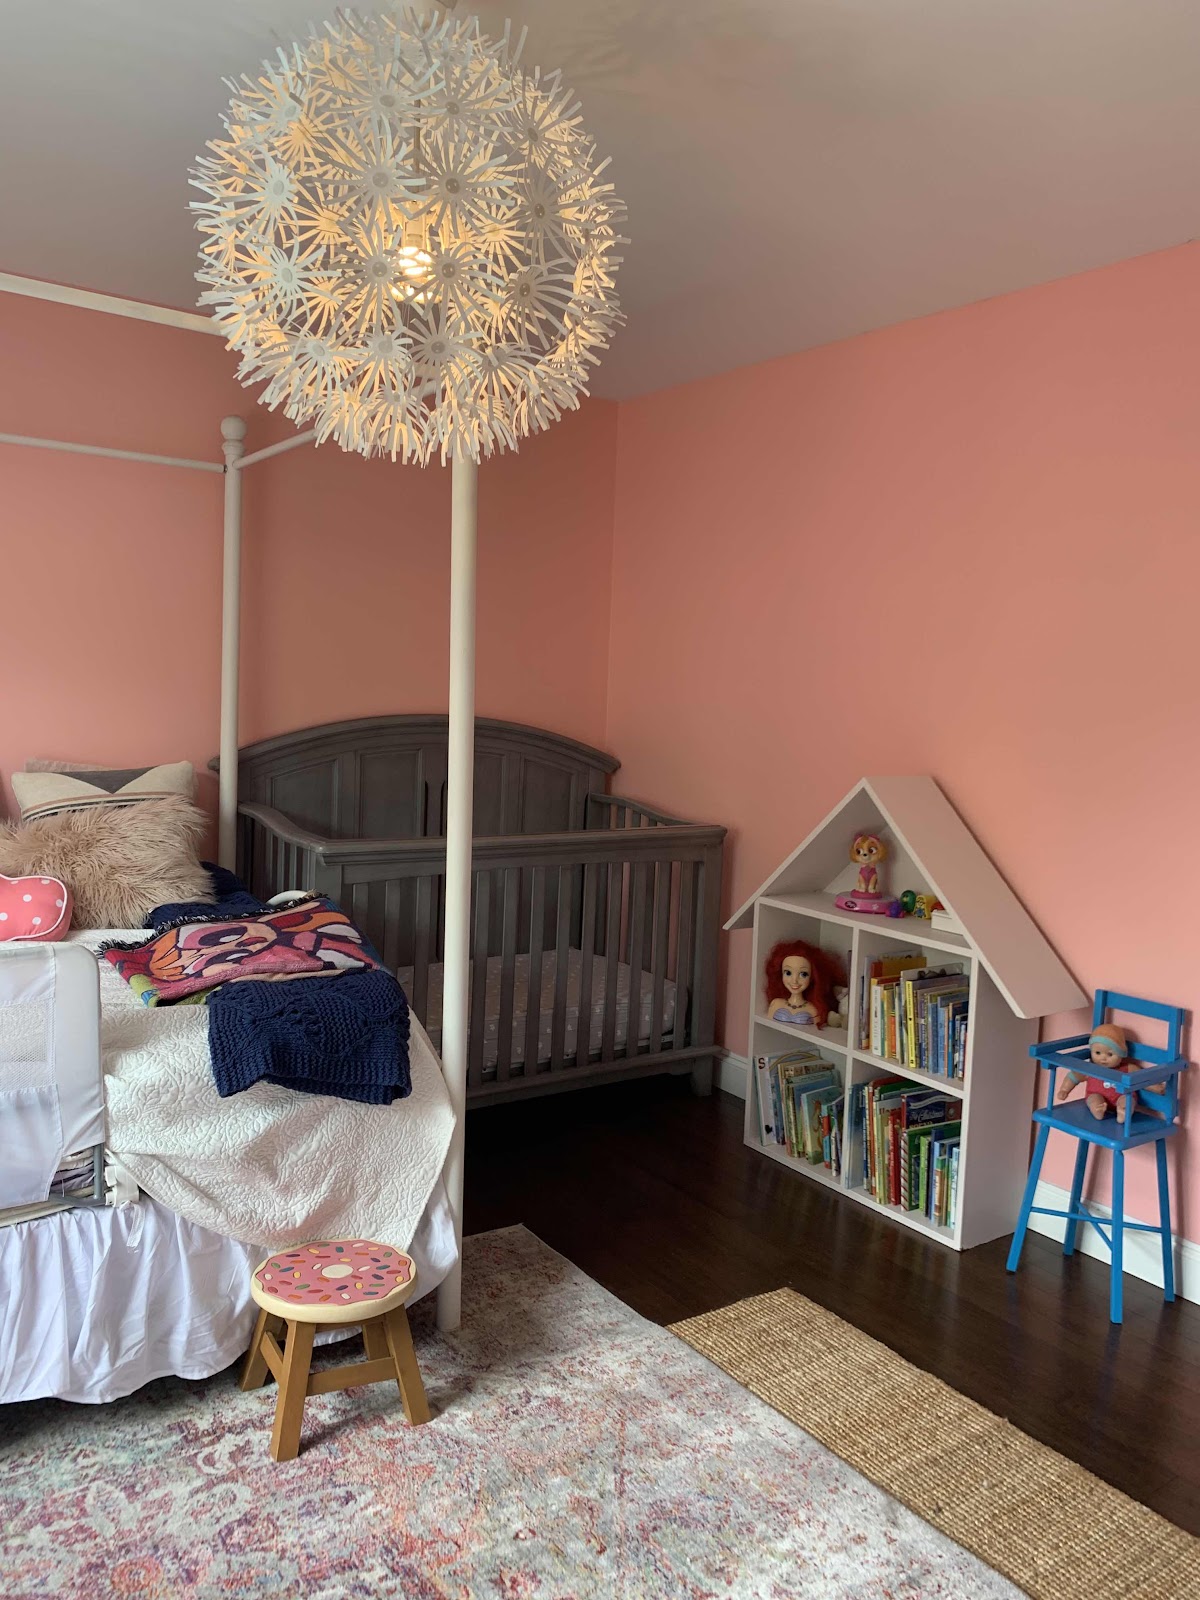
2 coats of primer and 3-4 coats of paint, it looks amazing!
Even better in person in my opinion :)
I had wall decals in mind from the start, I have often used Urban Wall decals and they have been amazing quality and low to zero damage when removing from the wall.
We have used these Triangles in Elliotts room (click here) $29 USD
This PLAY in the playroom (click here) $59 USD
We have this cutie, HELLO on our exterior garage door (click here) $10 USD
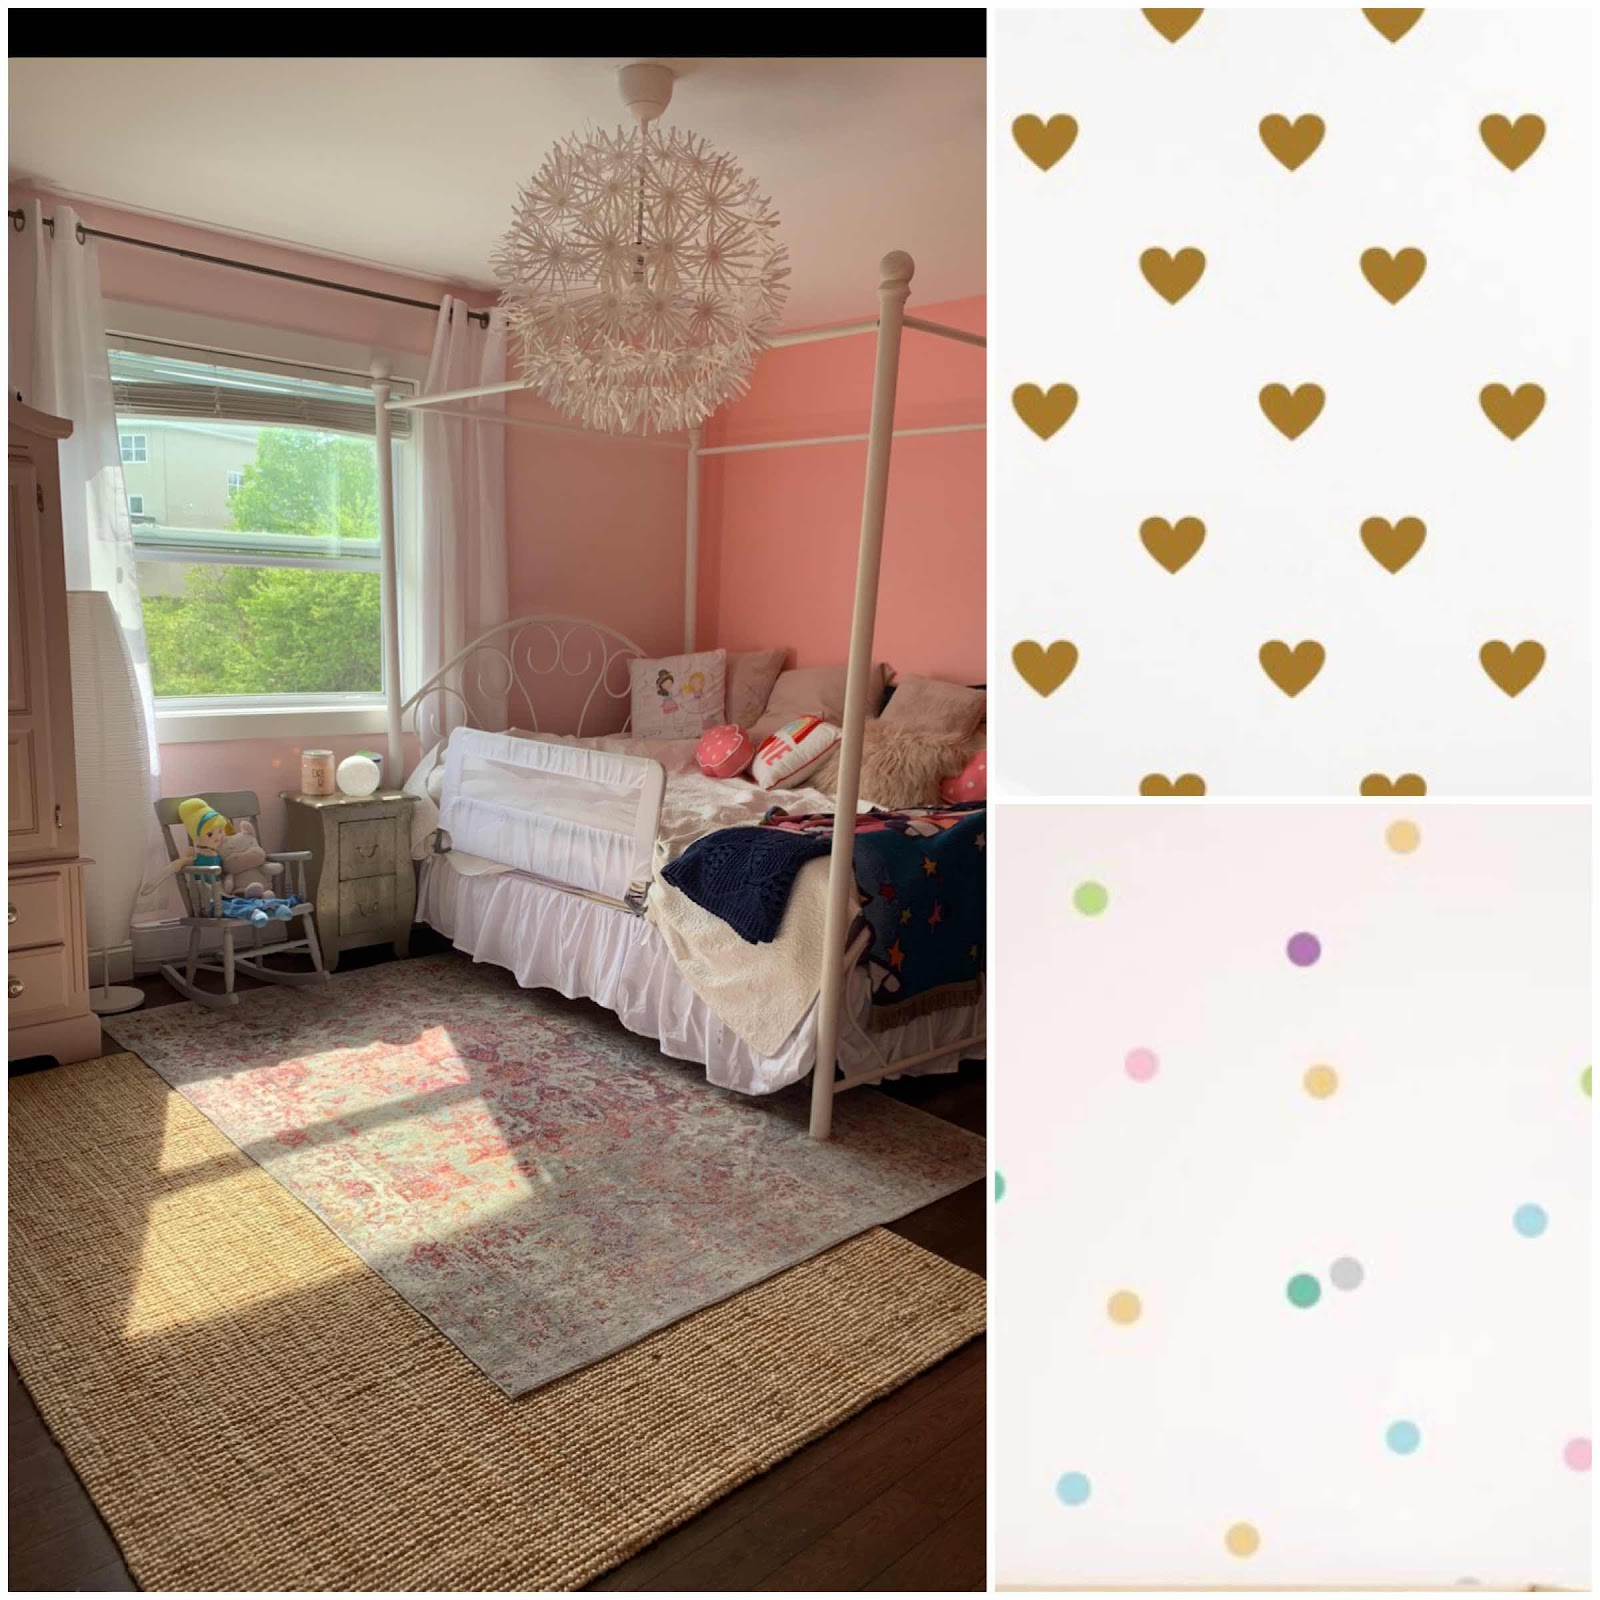
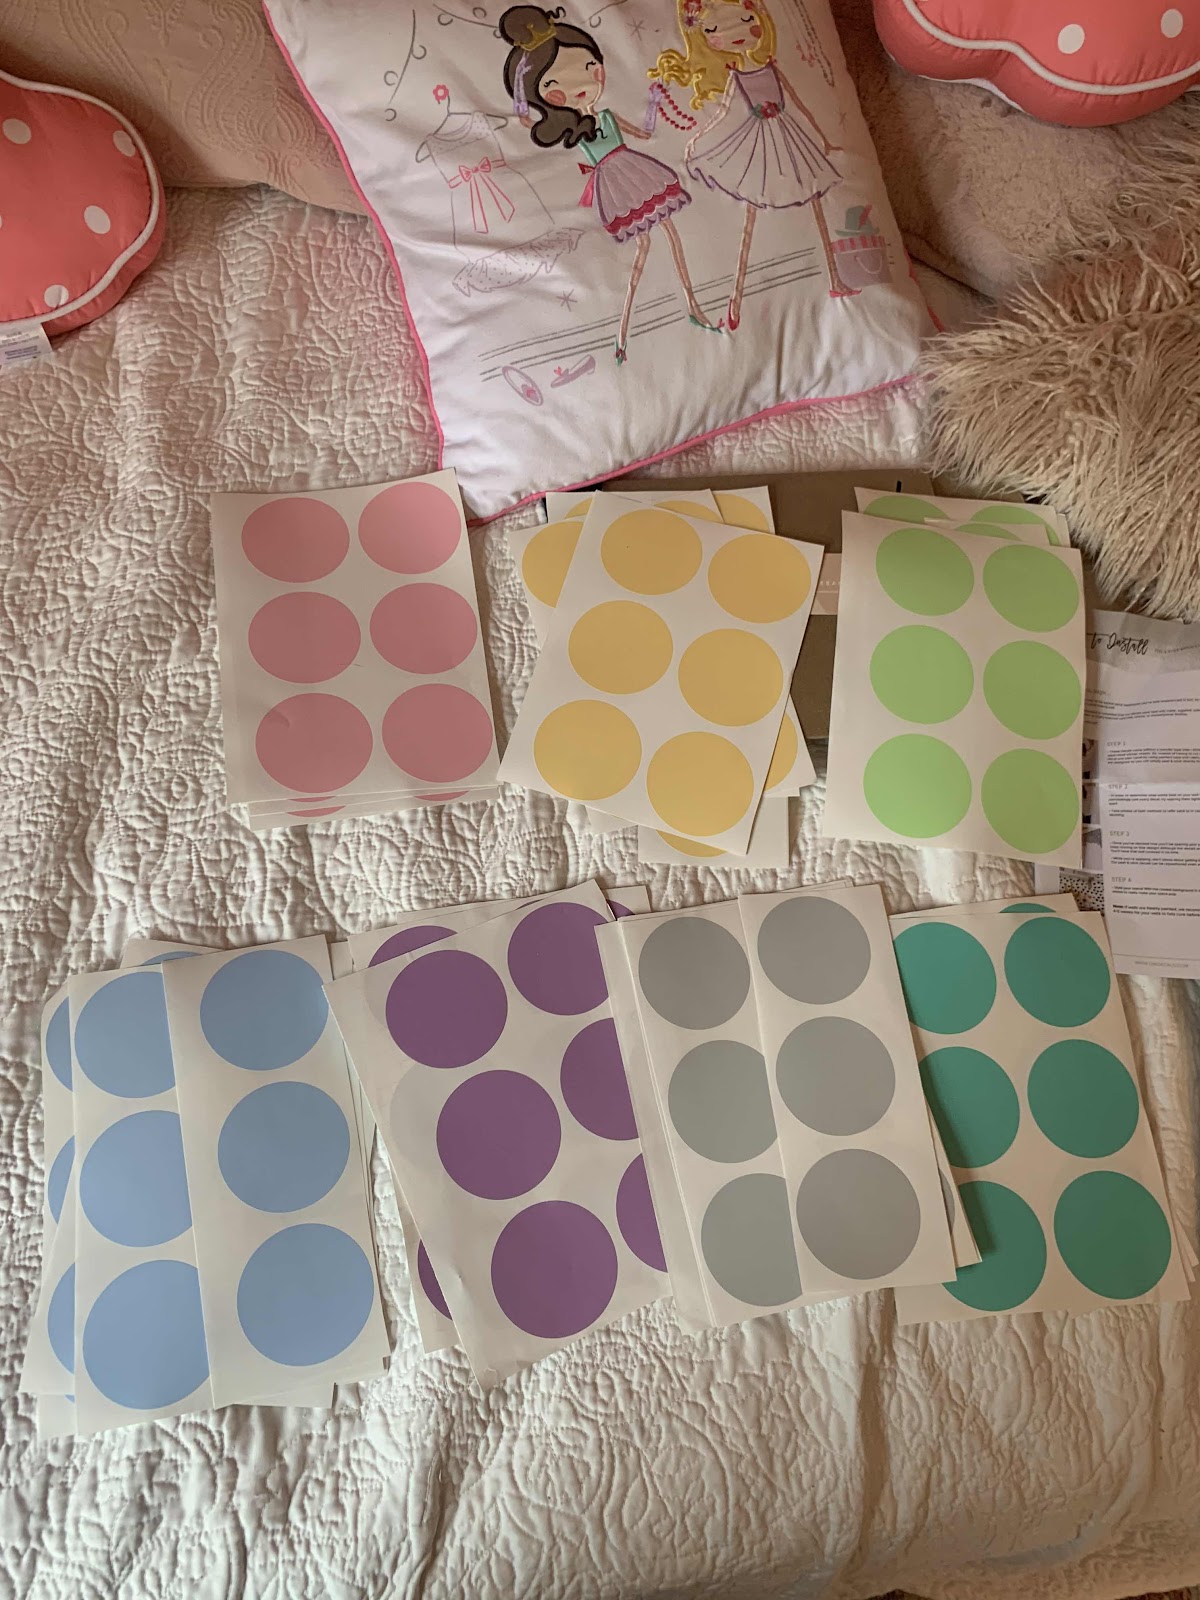
I initially thought I would like the gold hearts, I've seen them used in many homes and they're so cute but the more I browsed the better choice seemed to be the pastel dots.
I went with the full-size pastel dots (click here) $45 USD
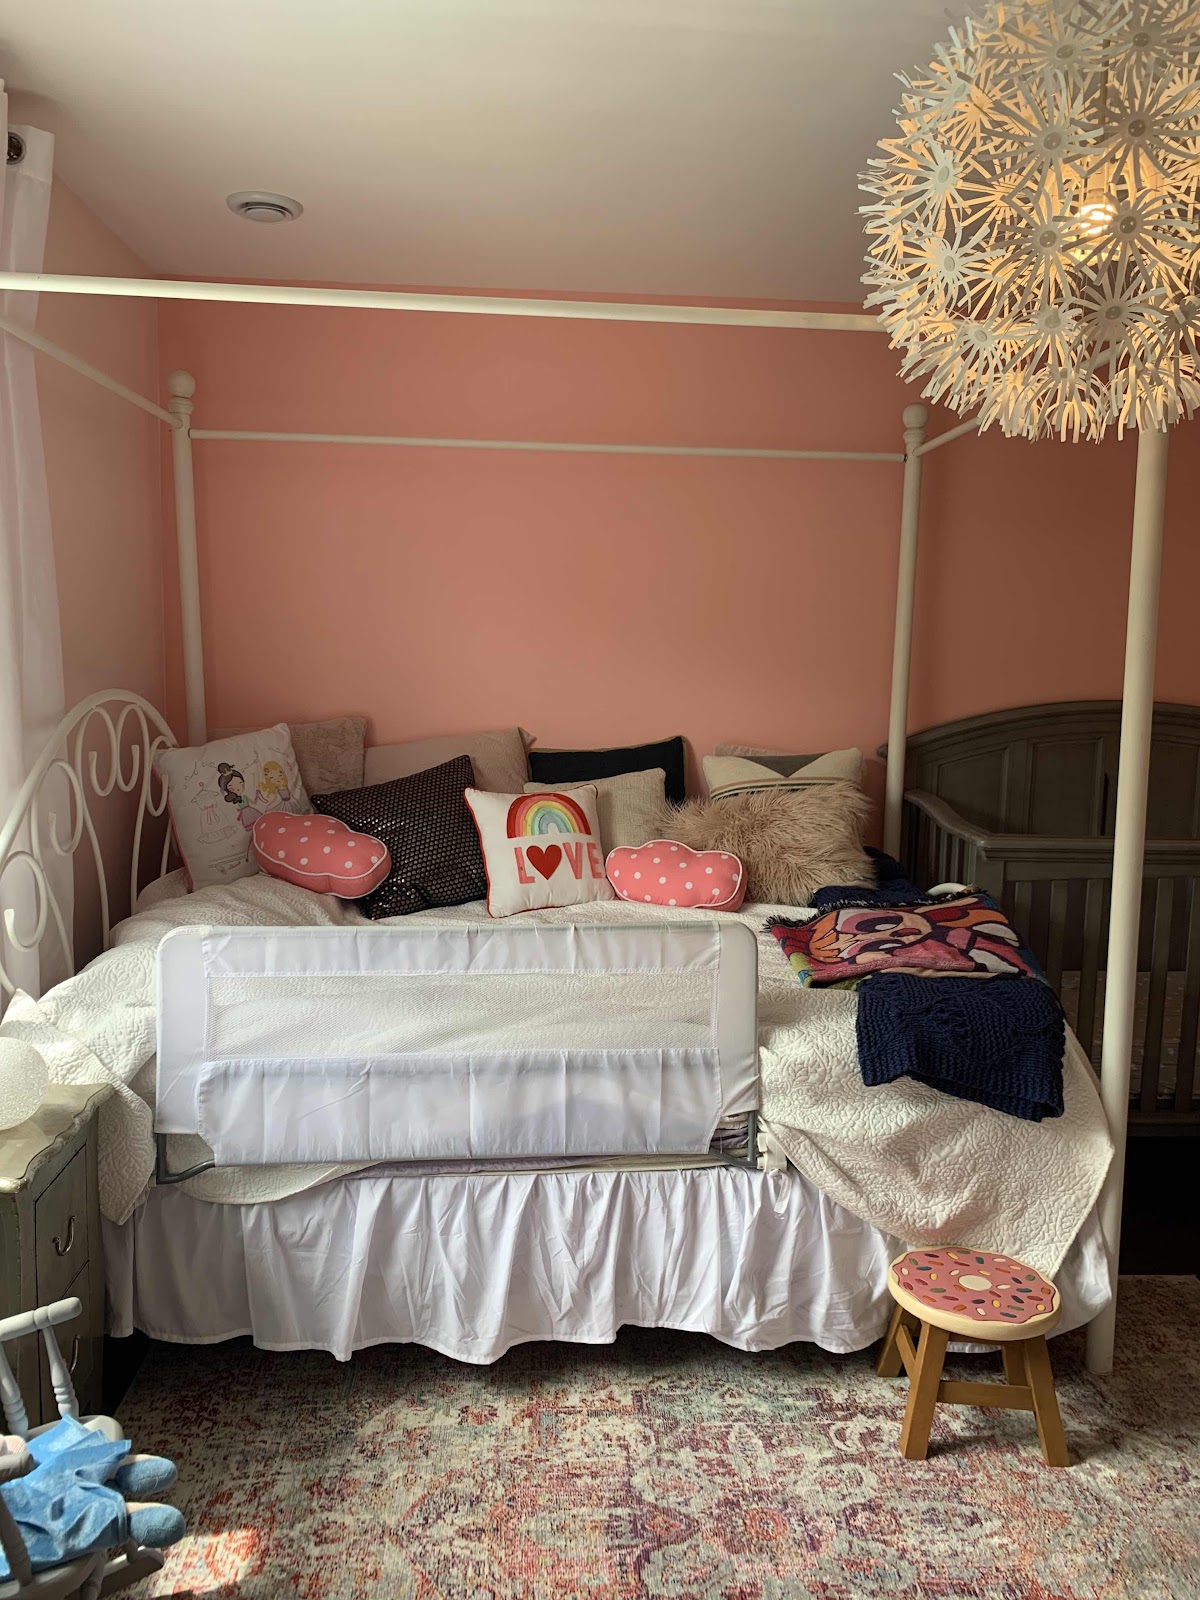
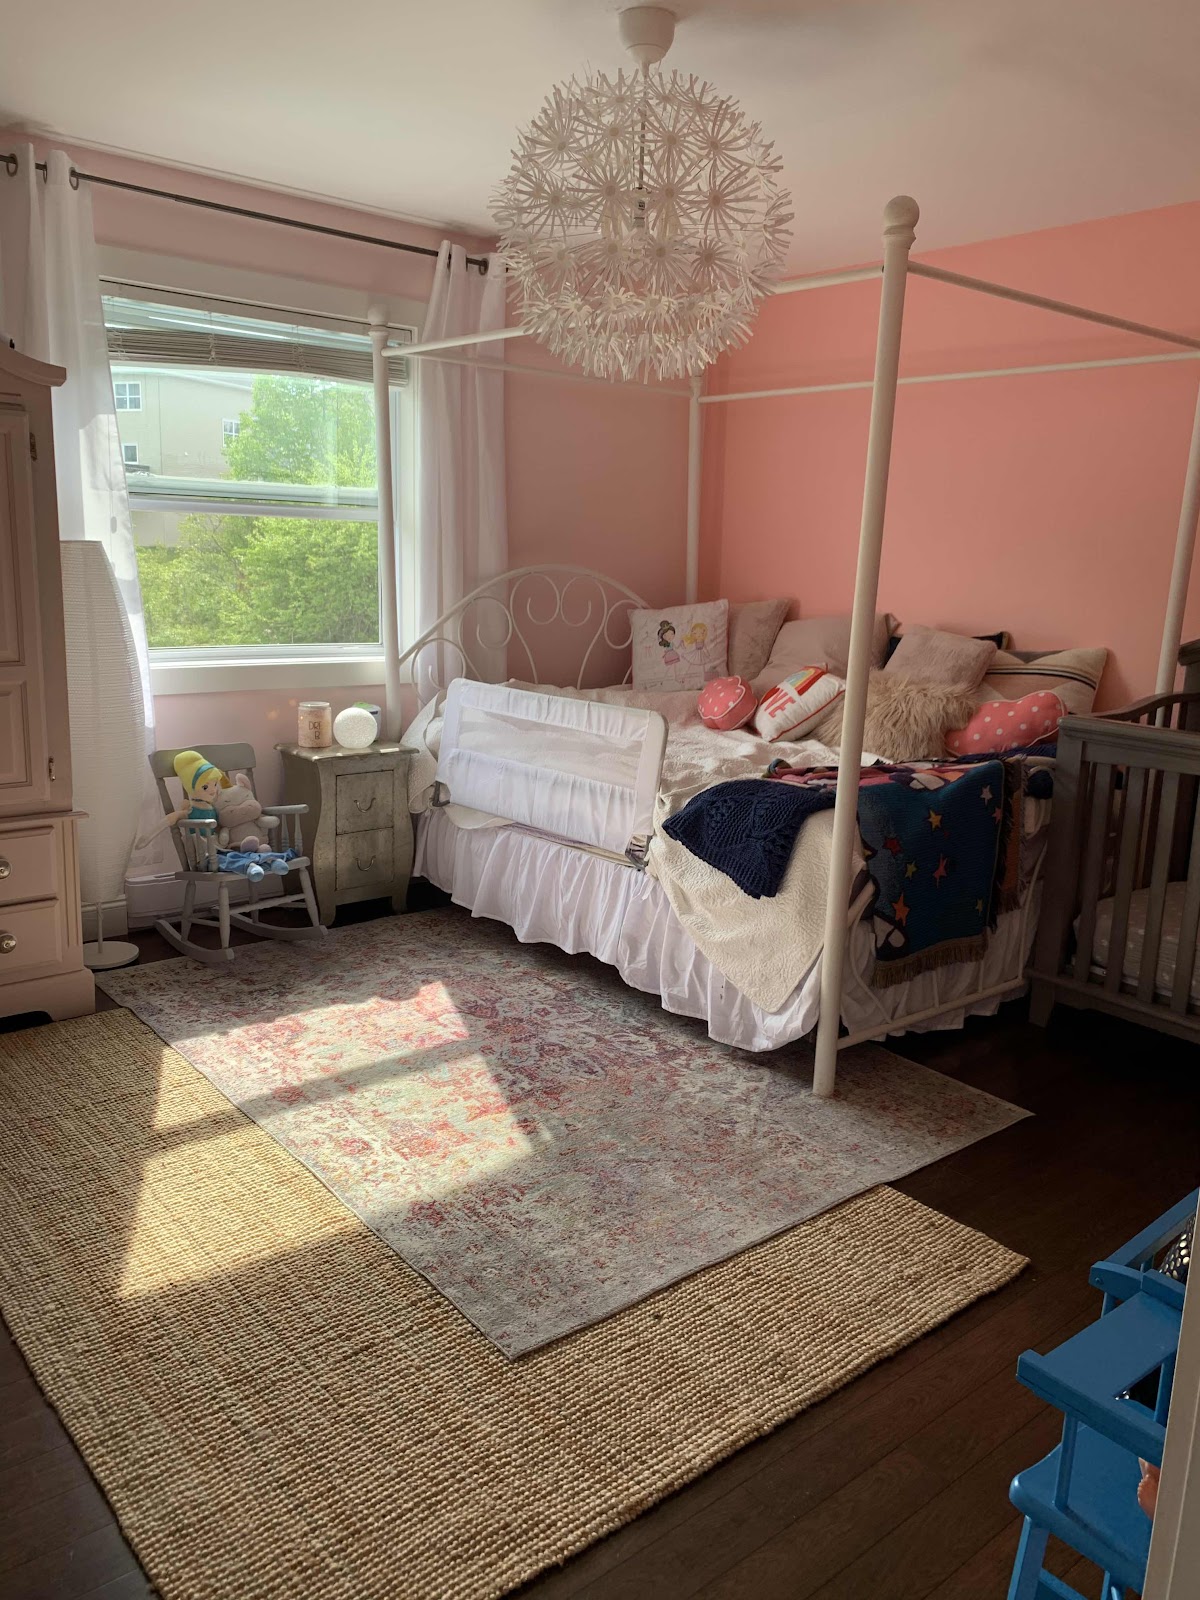
They pull colours from the rug and pillows, they're 'something' for that wall but not too, too busy of a backdrop.
Plus the girls can grow into them for many years while changing the colouring of accessories if they get tired of all the pink!
Although I doubt Noelle will hahaha.
The dots are also great because you can freehand apply them, I didn't need to measure or line anything up.
They're peel and stick decals so they could not be more simple to apply.
I started with one colour and used one of each then back to the first colour again.
My goal was to not have many of the same colour side by side.
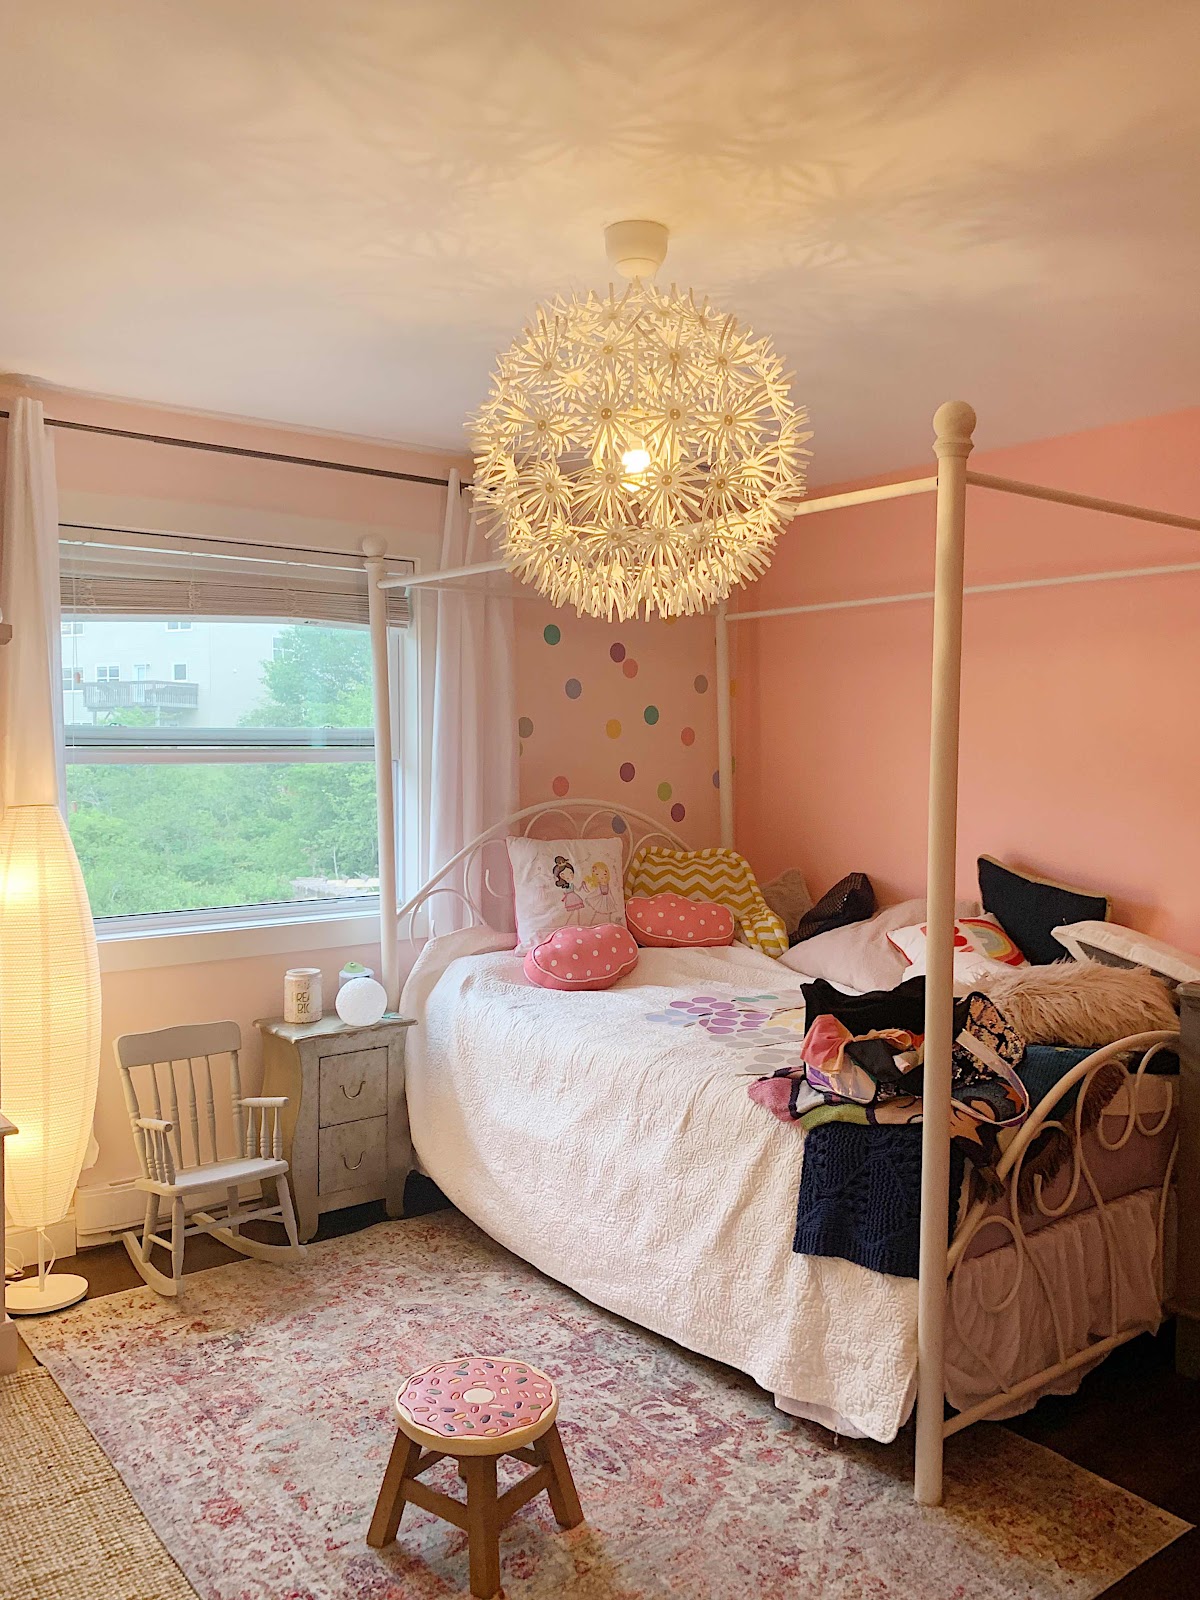
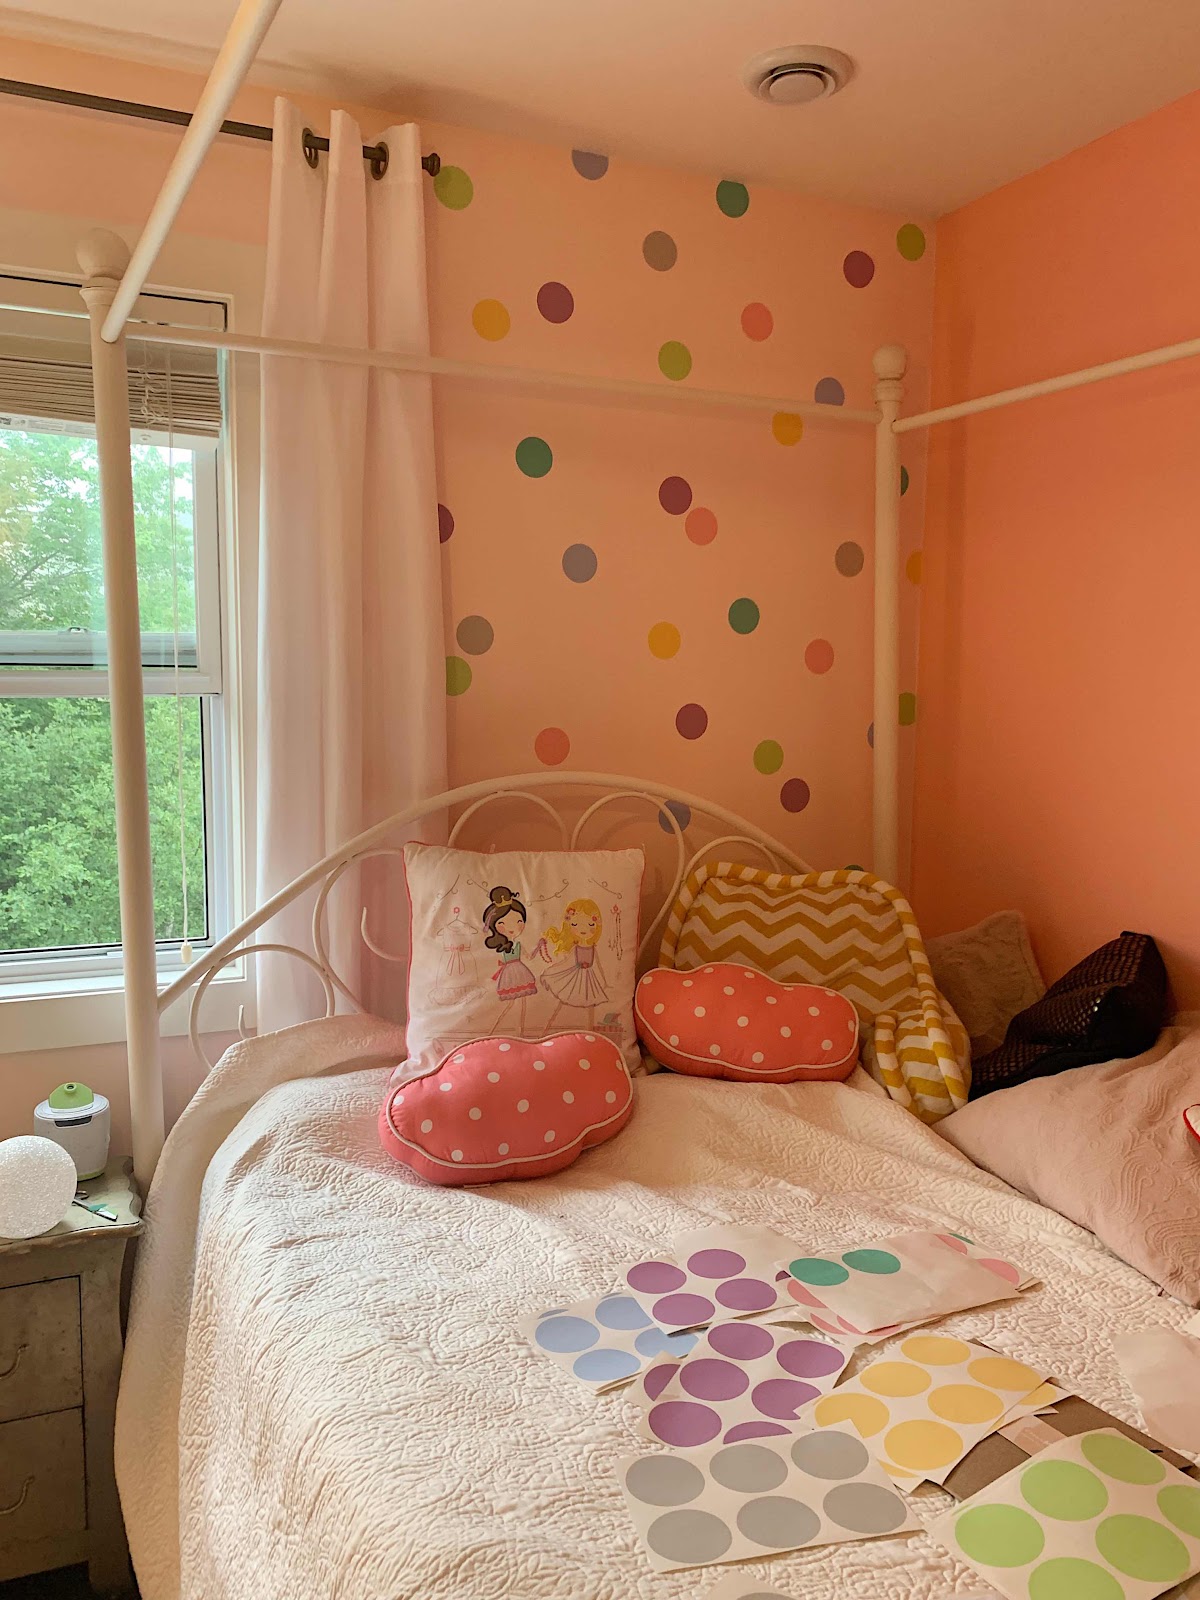
A TIP:
To make your decals look more custom, almost wallpaper-like.
Cut some decals in half, 1/3, 2/3
And place in the crease of where the wall meets another wall or window or ceiling.
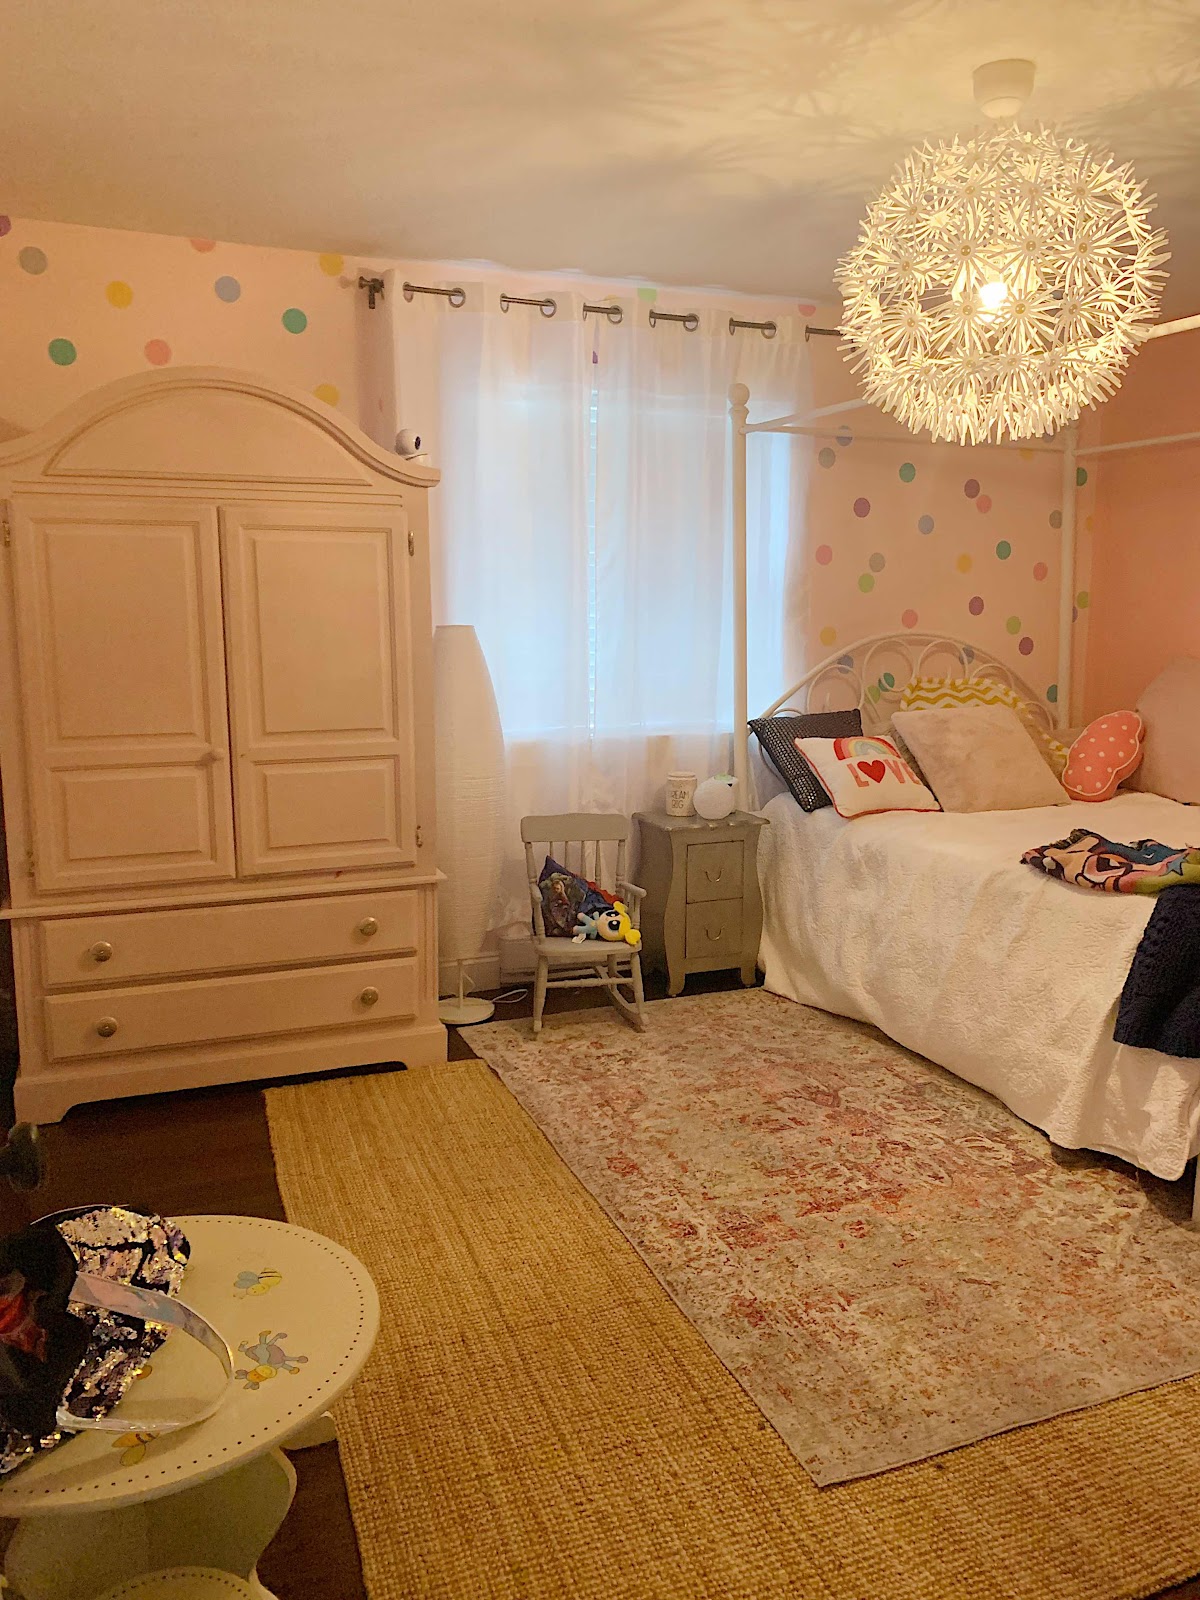
If you look to where the wall meets the ceiling you'll see what I mean by cutting some of the decals to fit that area and it really does make it look more professionally done.
via GIPHY
More DIY's to come!
Love the decals!
ReplyDeleteAm here to appreciate Dr Ogudugu for using his herbal medicine to cure my Herpes virus. since 3 years now I have been living with this virus and it has been giving me challenges, I was so perplexed cause i have been taking several drugs to be cured but all of my effort was in vain,one .morning i was browsing through the internet then i saw several testimonies about Dr Ogudugu curing people from Herpes virus and immediately i contacted Dr Ogudugu on his email: greatogudugu@gmail.com, i told him about my troubles and he told me that i must be cured, gave me some instructions and which i rightly followed. so he prepared a herbal medicine for me and sent it to me which i used for 2 weeks and everything was like a dream to me and my Herpes virus was totally gone, why don’t you contact him today and be free from your diseases because he is very good and honest Doctor. contact him via email; greatogudugu@gmail.com or whatsApp him on +2348063739701!!
ReplyDelete