SOCIAL MEDIA

Friday 14 August 2020

Halifax Wedding Makeup


Halifax wedding makeup

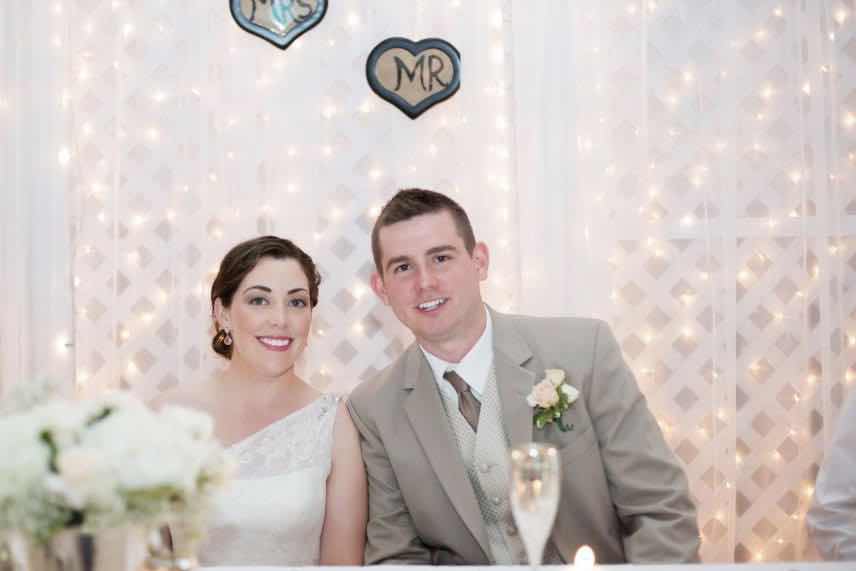
Our wedding anniversary was last week, I found myself looking back at our wedding photos and 7 years later I can say I'm still very happy with our small backyard + rec centre reception, wedding. 

The only thing I would change would be to hire a videographer! 
GET THE VIDEO GUYS.

We didn't think about that, it was 7 years ago..
Way back in the olden days, when we thought photos would be enough. LOL

Things have come such a long way since then, every speck of our lives are now caught on video from the palm of our hand iPhone, so to have no video of our special day seems strange. 

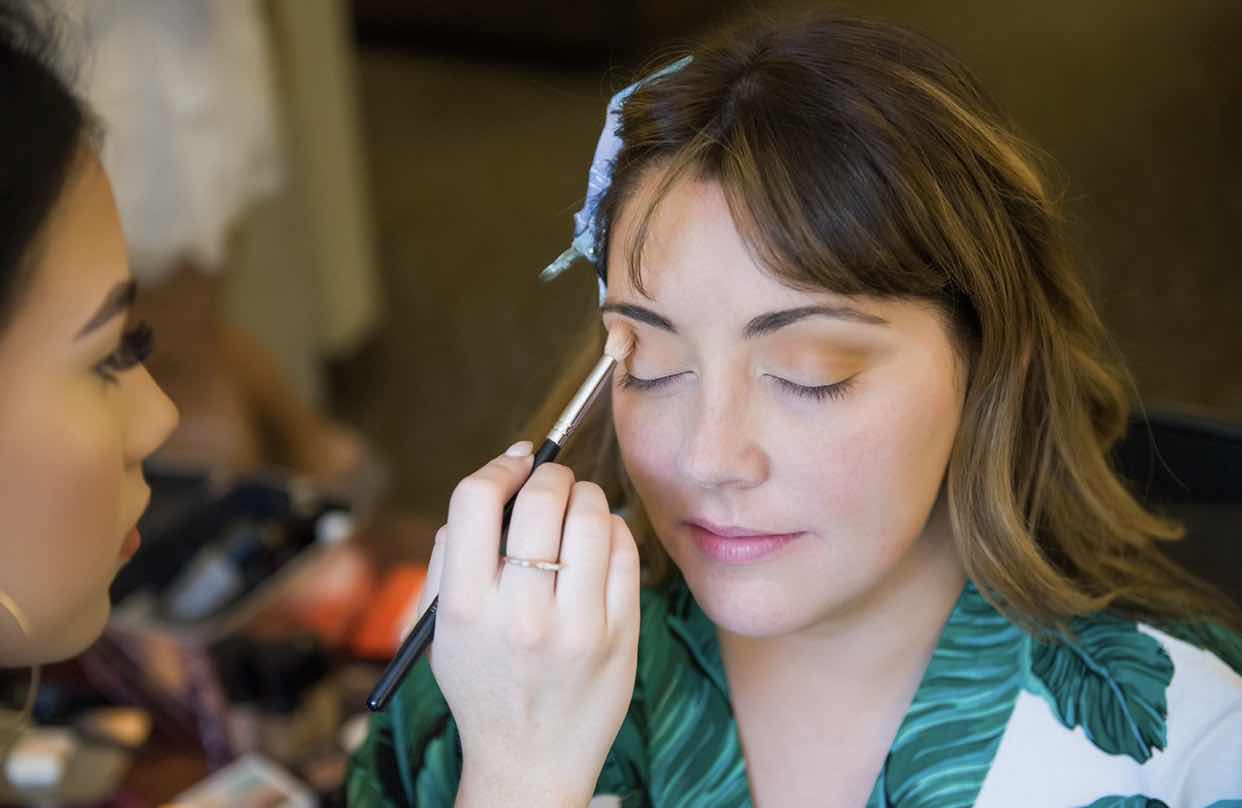
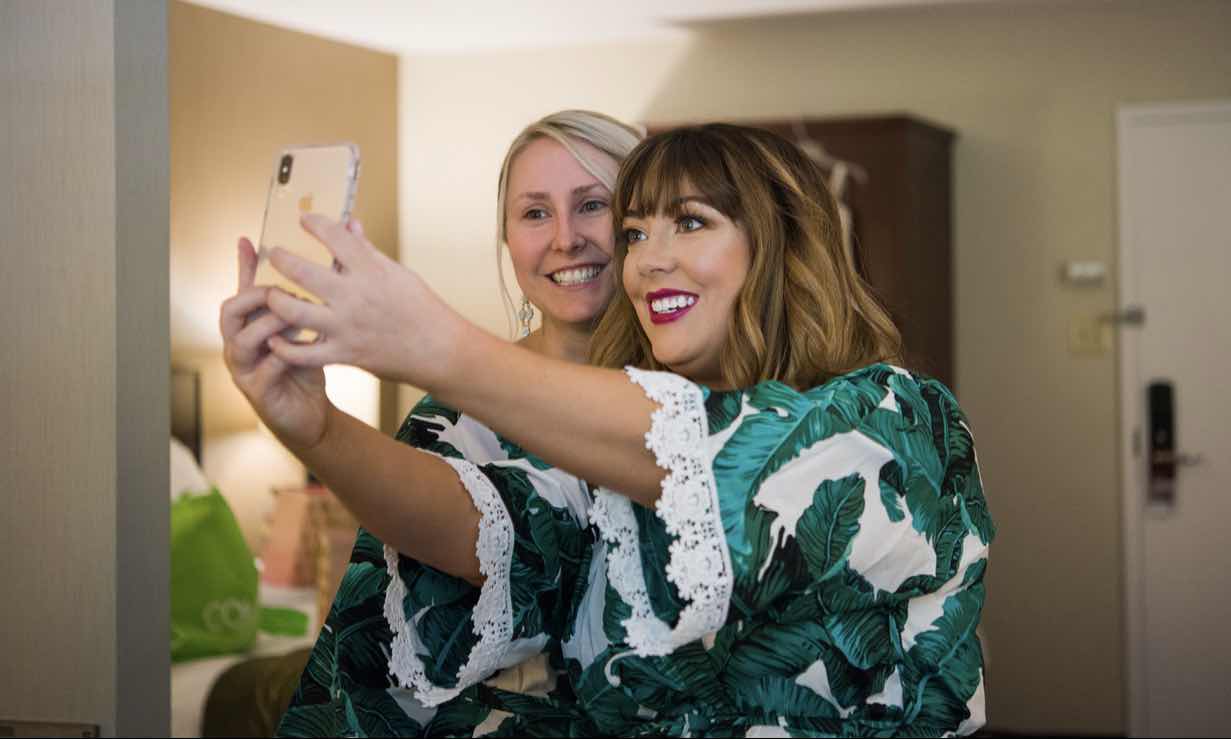
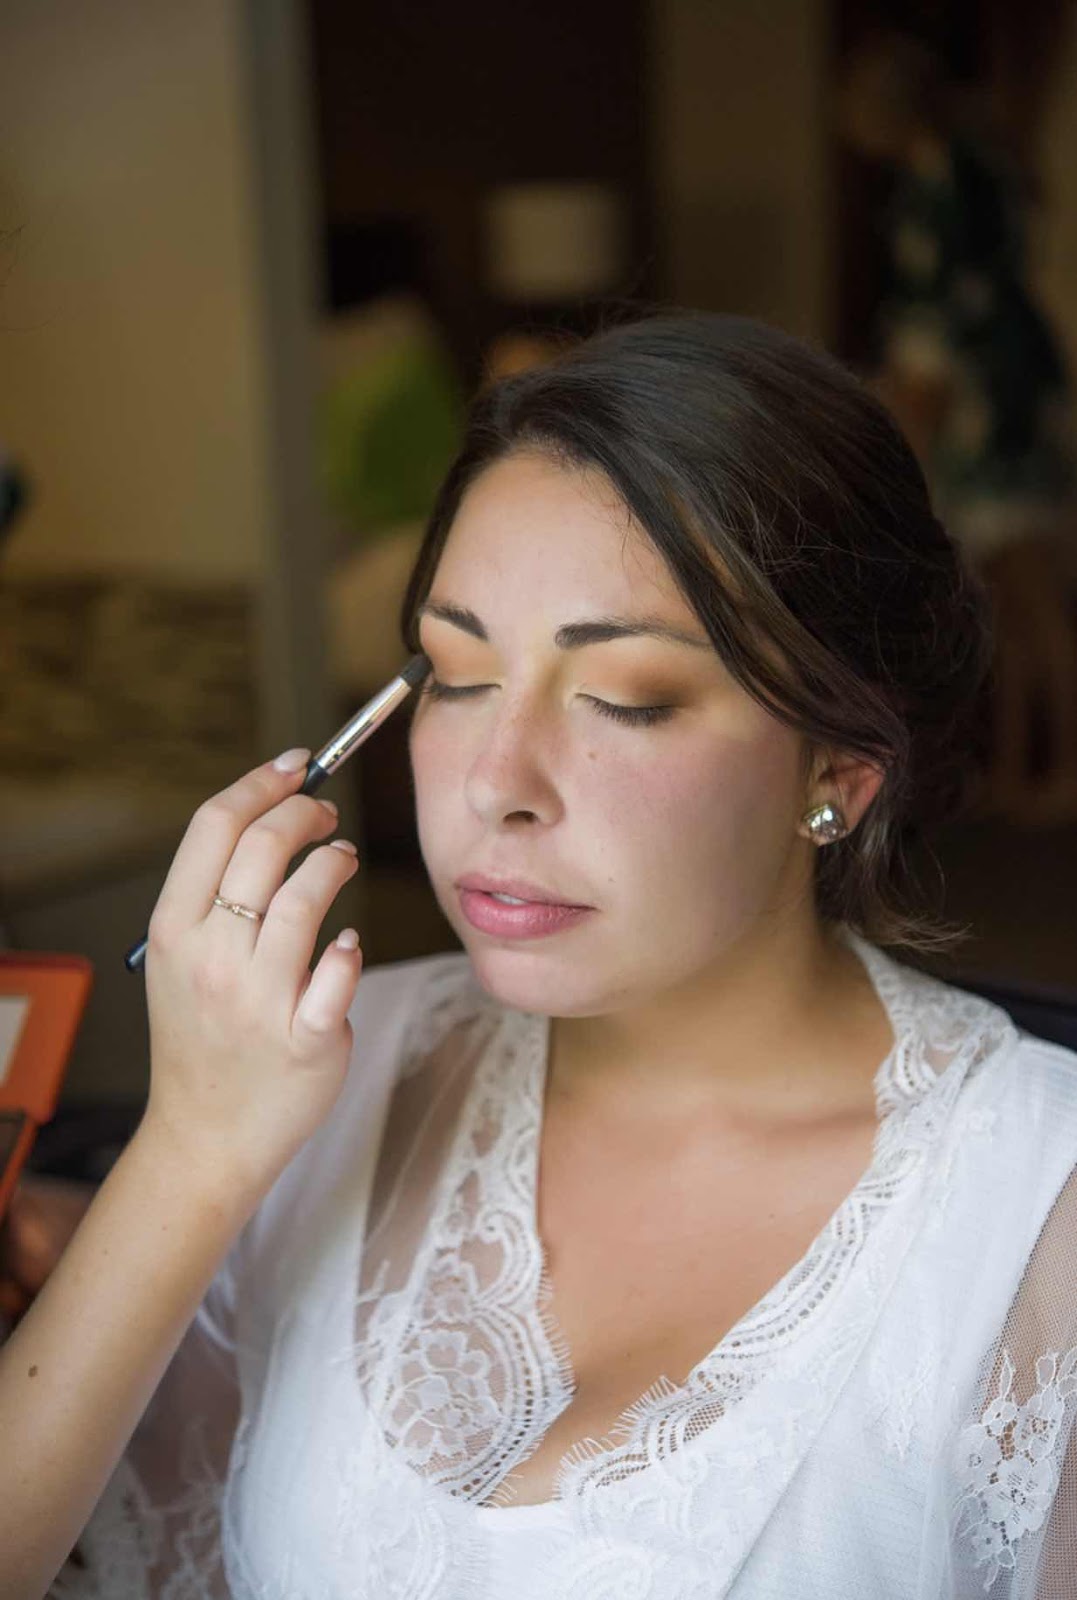
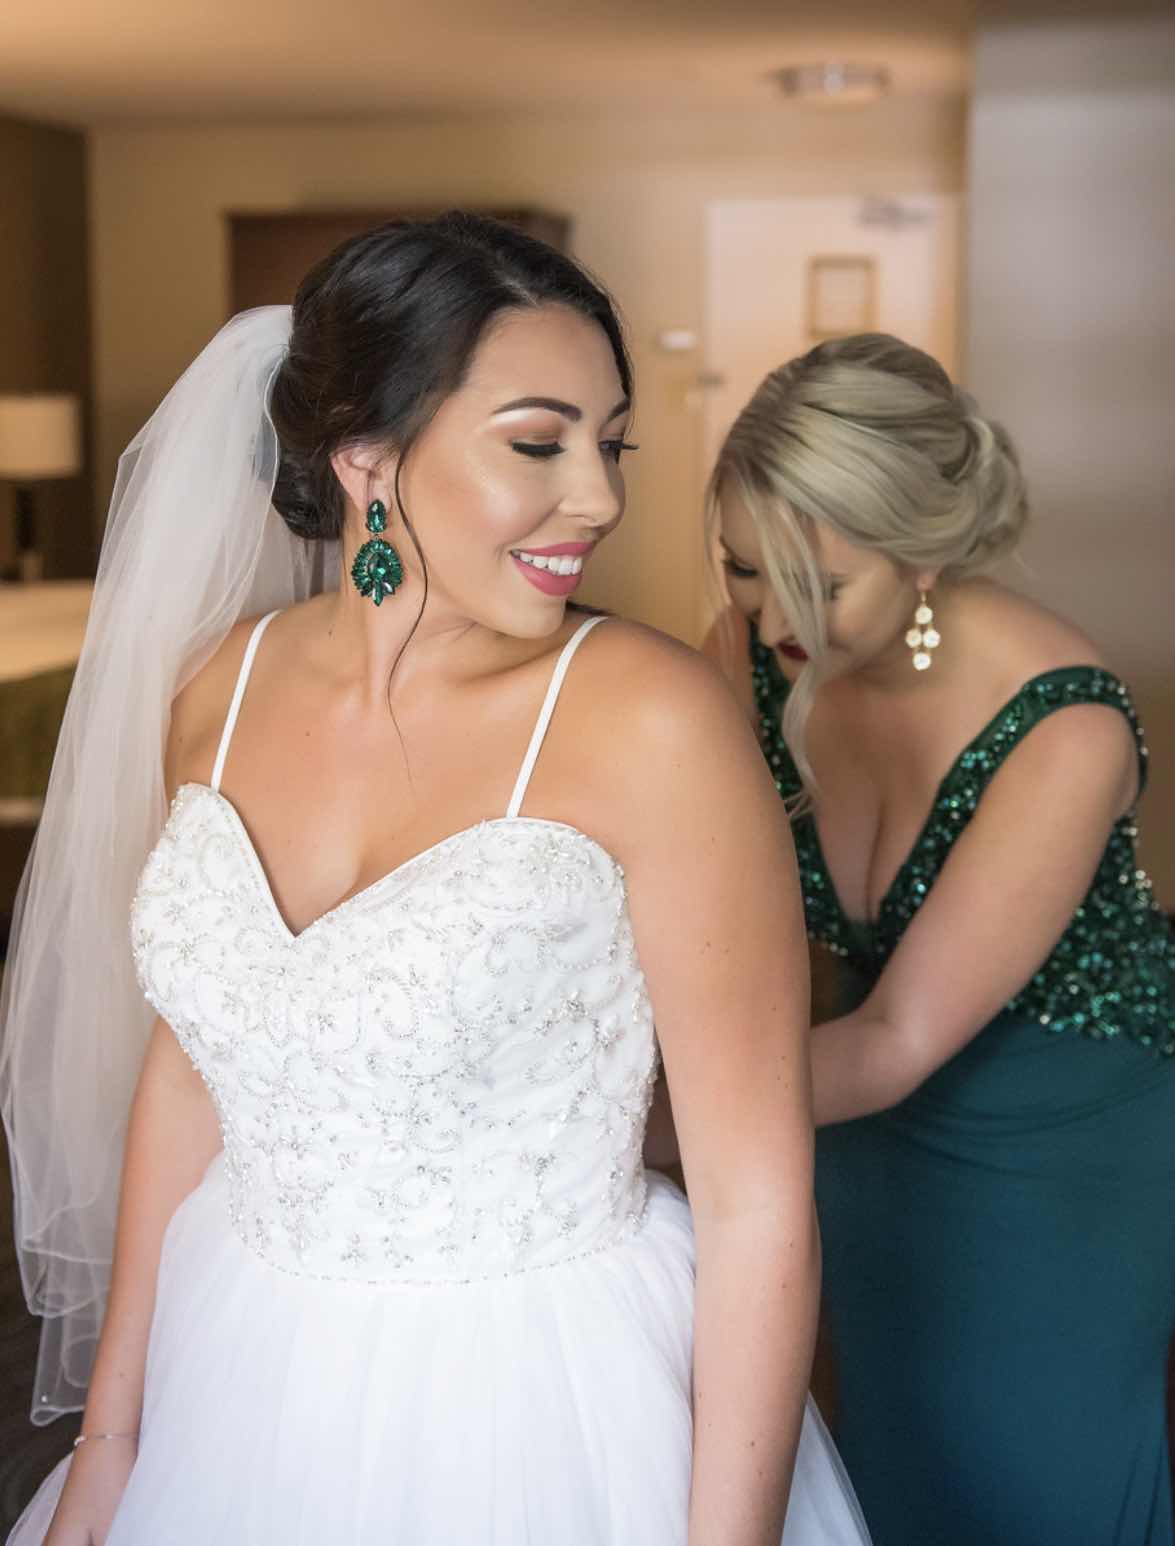
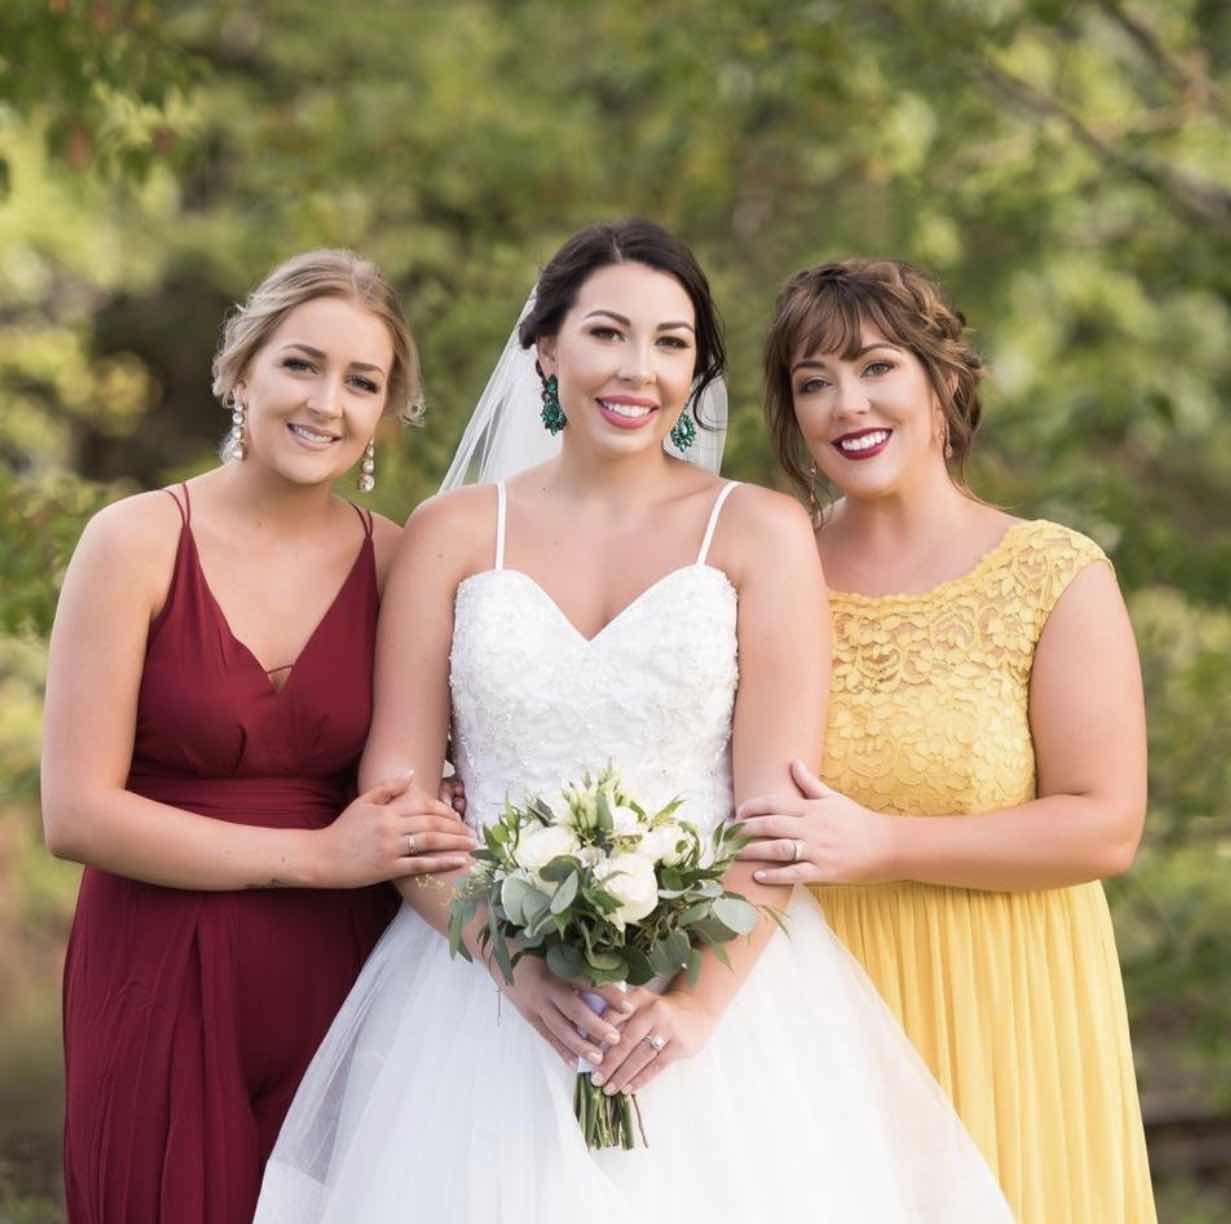
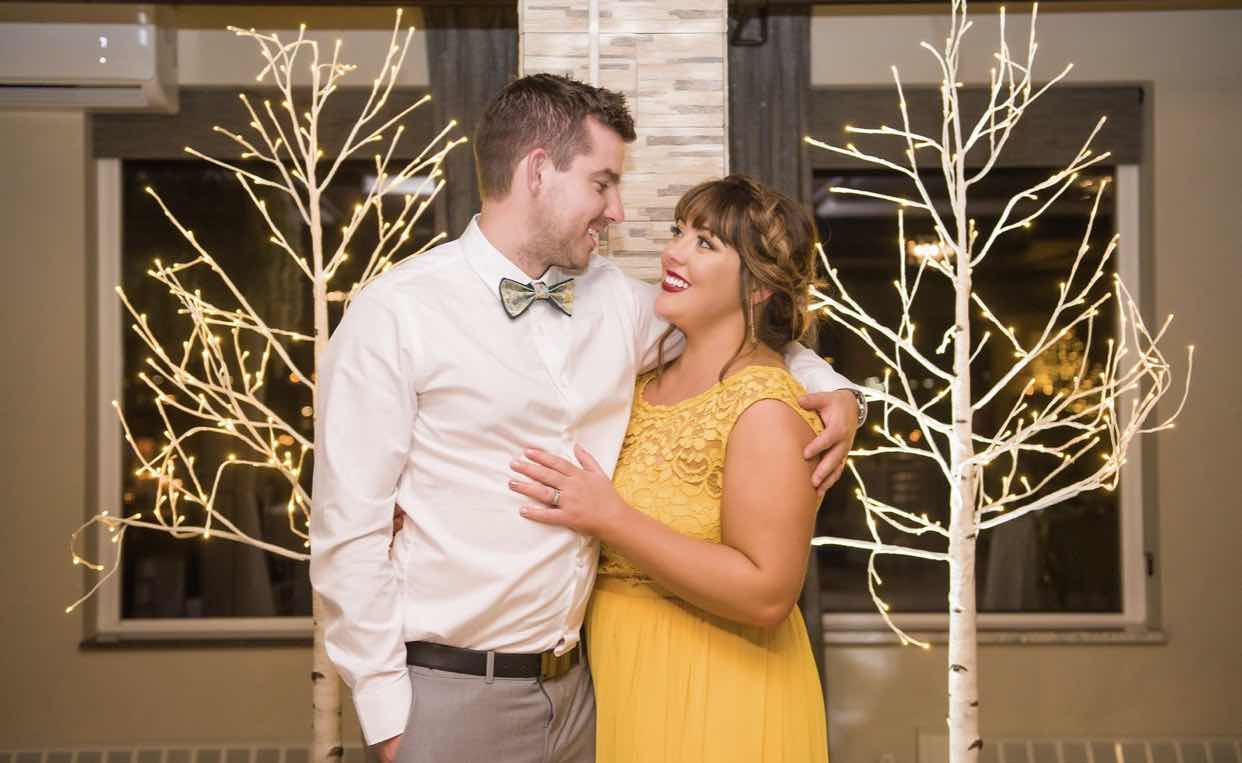
My sister's 2nd wedding anniversary is coming up so I thought it would be fun to look at some makeup photos from my wedding 2013, to her wedding 2018. 

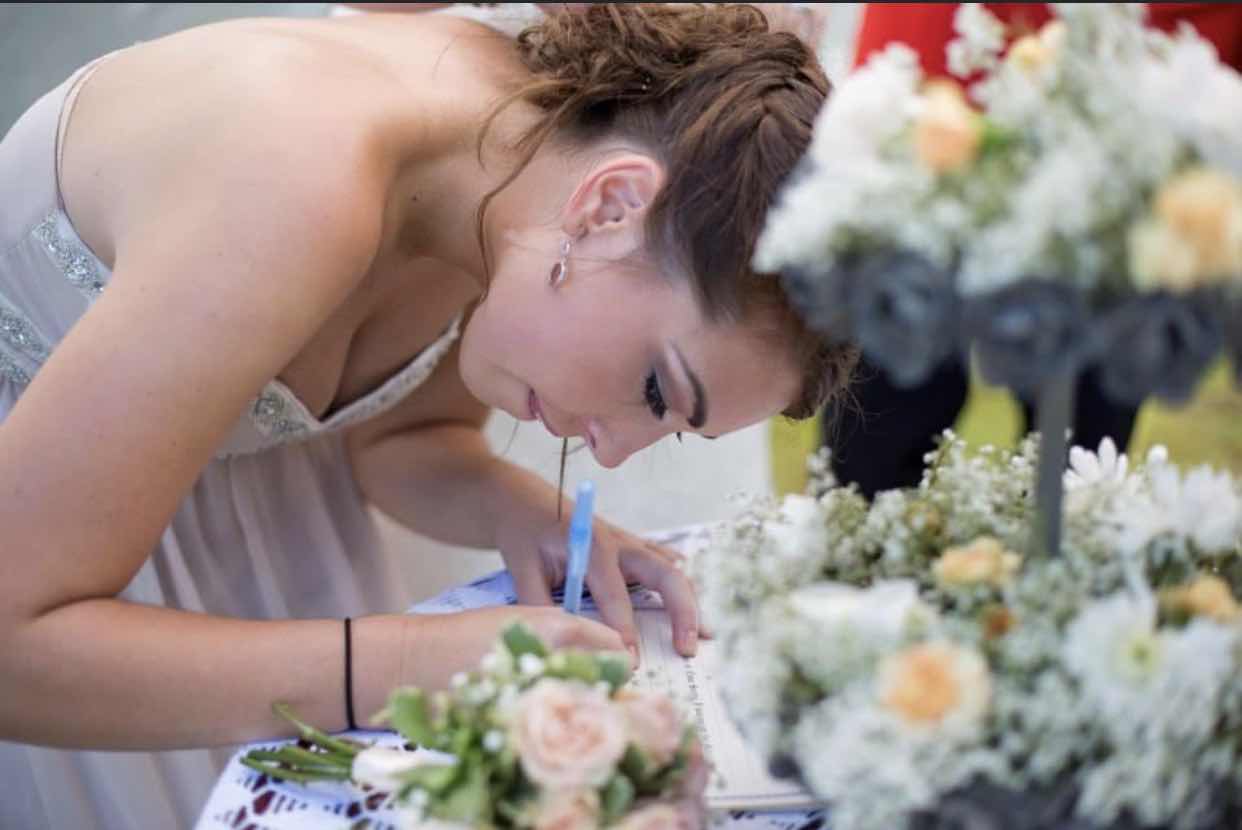
*Factor in the quality of these photos because all I could find was FB photos from our wedding day. 


Halifax wedding makeup

2013 - At my parent's house we had our makeup done by Allison Kirby (Click here) 

It was the classic smoky grey, purple that wedding makeup is known for!
Flattering on everyone and every wedding. 
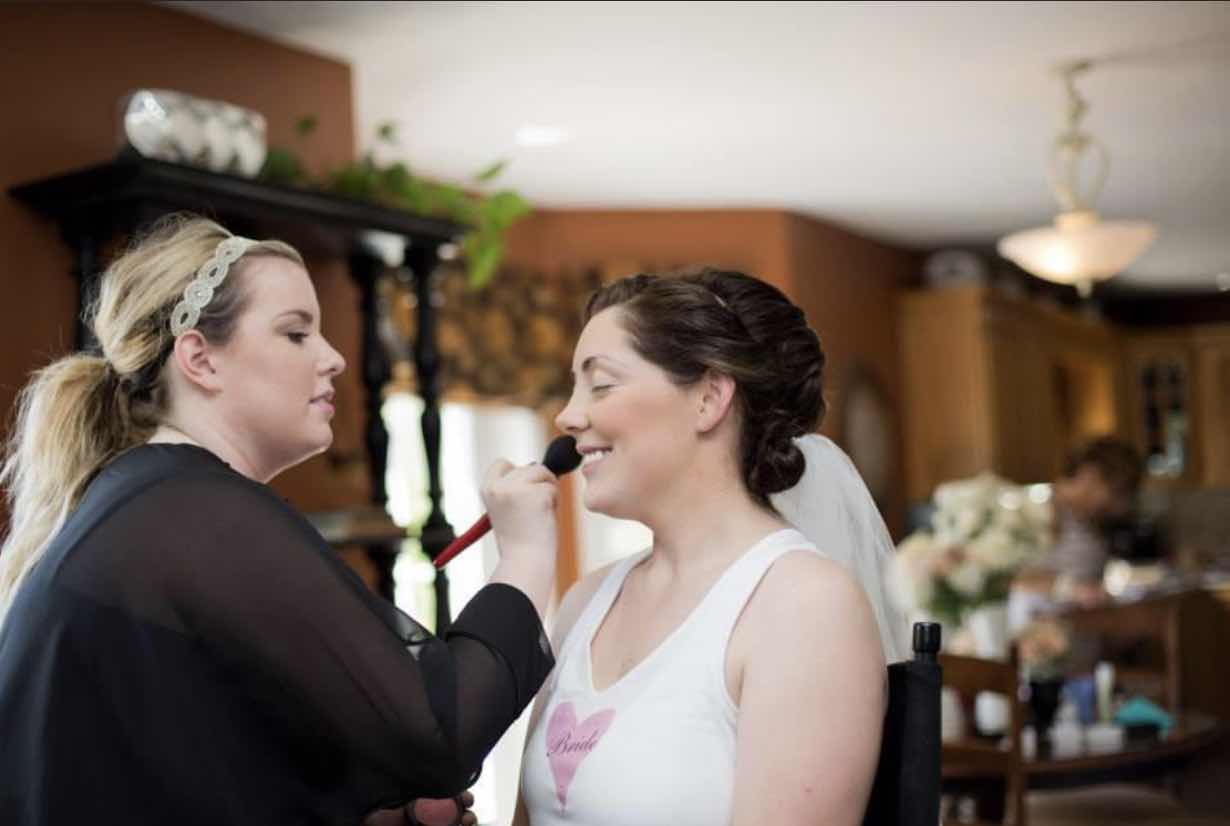
Halifax wedding makeup

Halifax wedding makeup

I picked out a new lipstick for the day, Mac's Lustre Lipstick in Sweetie. (click here)


2013 ^ the zip
2018 > the zip
Halifax wedding makeup


In 2018 my sister was married and we had our makeup done by Amaya Baxter (click here)


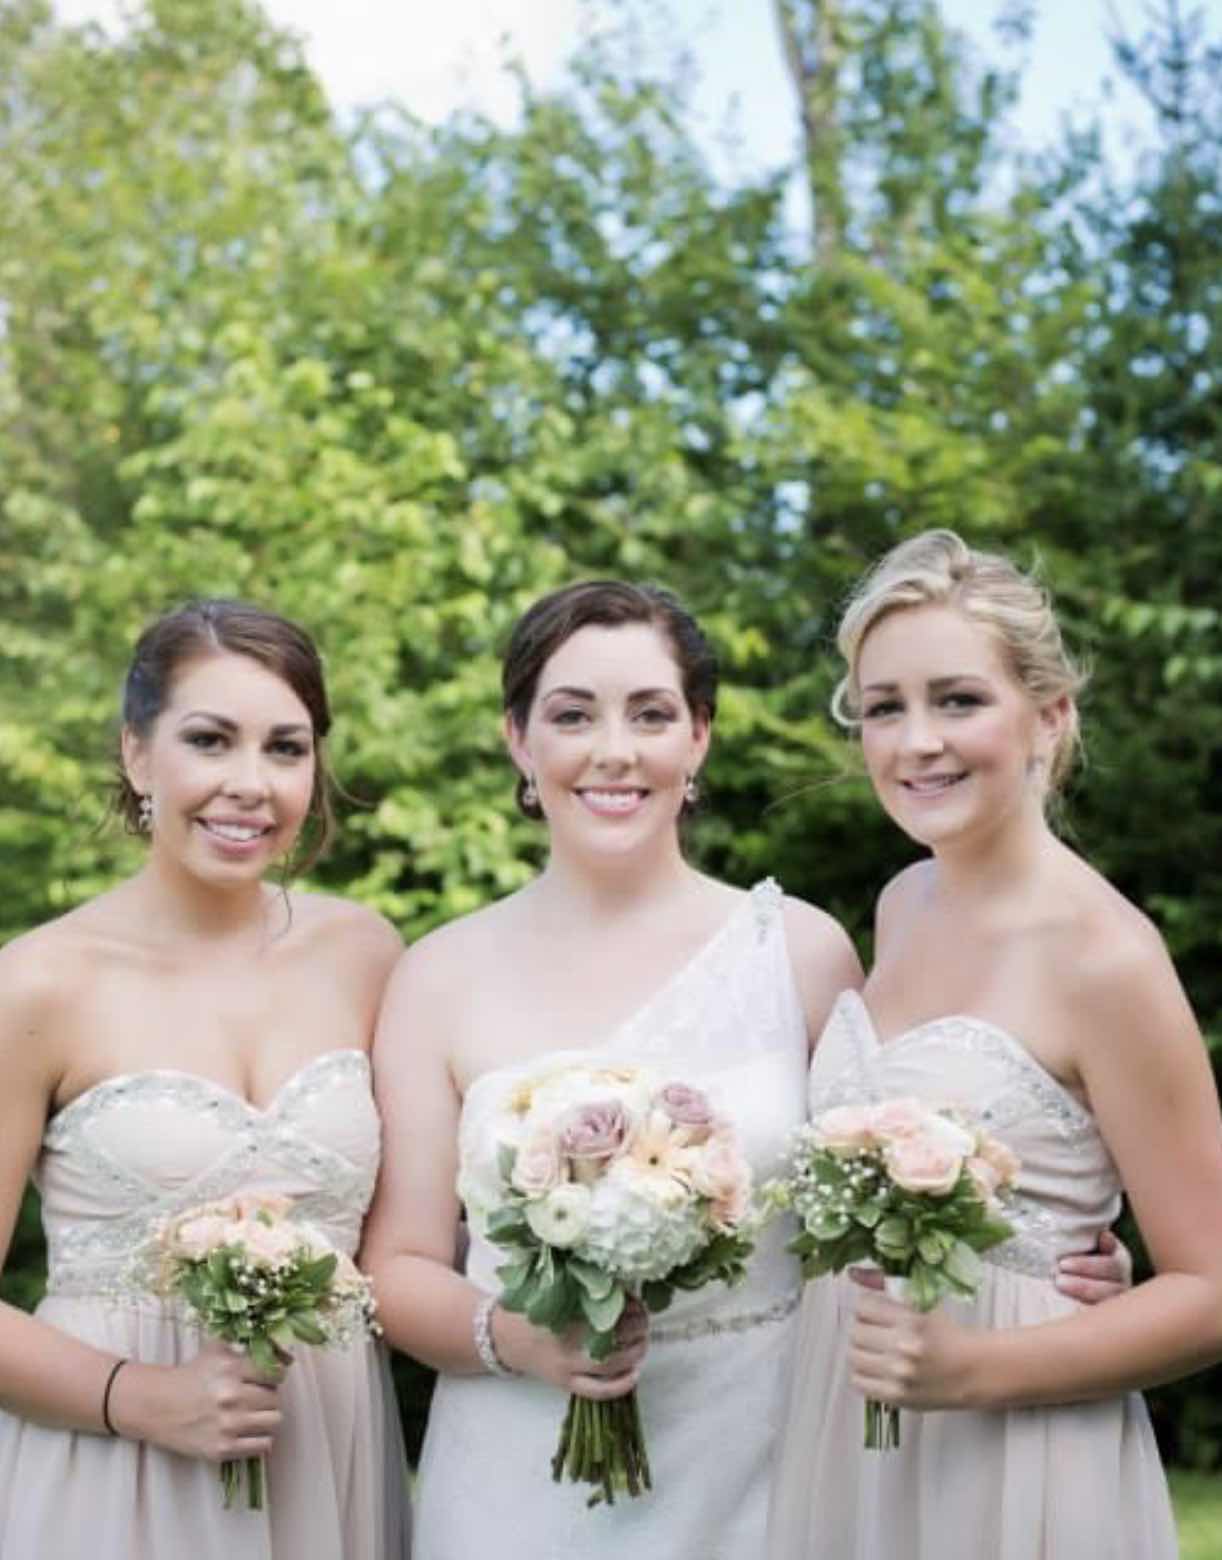
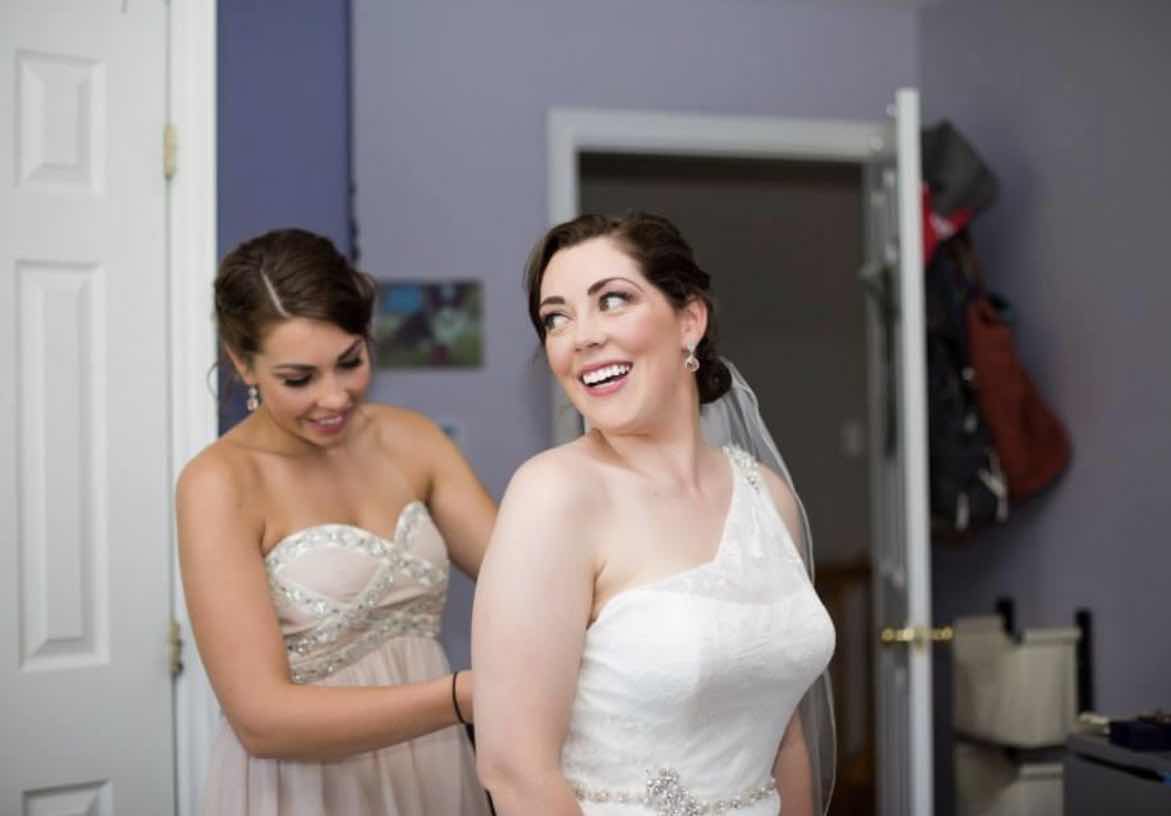
Again we let her have creative freedom, with the exception of a bold lip for me!

Halifax wedding makeup

And it turned out so fabulous. 

Halifax wedding makeup


halifax wedding makeup

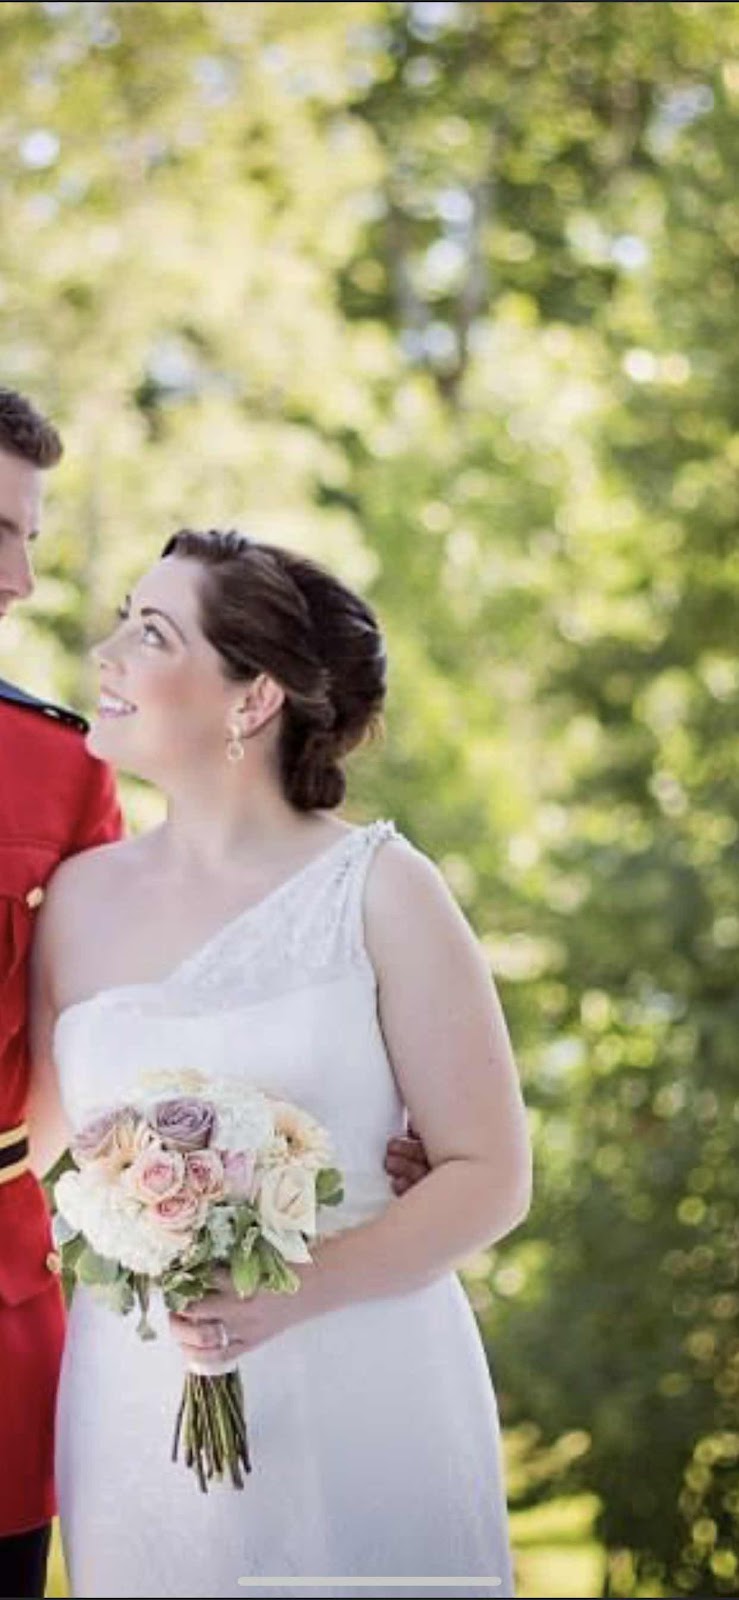
I wish I had some better close-ups side by side because I loved how she explored different eye makeup for both me and the bride!

It's difficult to see from this distance but my lids were more plumful and hers were more brown tones which really flattered my green eyes and her brown.


Halifax wedding makeup


Looking through all these photos makes me so envious of the ease of those years and I really hope we will be looking forward to large celebrations in the not so distant future and maybe I can book a makeup appointment for something special?? 

I love playing with makeup on myself but there's nothing as glam feeling as having someone else do it <3
Sunday 26 July 2020

Girls room Makeover: Paint and decals

Eeeekk!

This has been such a long time coming and it's still not done but I cant wait to share.
I am taking my time to complete it and really consider what will work well and make the transition from baby/toddler to young children for my girlies.


I LOVE a navy room but it just wasn't working for us anymore and honestly, it was looking worn and chipped.

Noelle's favorite color is PINK!
So I knew it would be some form of pink but I wasn't sure if I wanted to go pale blush, I feel like I have so much blush in the house, I wanted something a little different.

Primer, primer, primer!


It was going to take a few coats of primer!
We did 2 but we could have done 3.


I gave Nick some colour inspo and asked him to send me the closest thing he could find, he sent this colour trio from Kent Building Supplies Sico line and I love it!

2 walls in Cherry Bubble Gum
2 walls in Cherry Parfait


2 coats of primer and 3-4 coats of paint, it looks amazing!
Even better in person in my opinion :)


I had wall decals in mind from the start, I have often used Urban Wall decals and they have been amazing quality and low to zero damage when removing from the wall.

We have used these Triangles in Elliotts room (click here) $29 USD

This PLAY in the playroom (click here) $59 USD

We have this cutie, HELLO on our exterior garage door (click here) $10 USD


I initially thought I would like the gold hearts, I've seen them used in many homes and they're so cute but the more I browsed the better choice seemed to be the pastel dots.

I went with the full-size pastel dots (click here) $45 USD

They pull colours from the rug and pillows, they're 'something' for that wall but not too, too busy of a backdrop.

Plus the girls can grow into them for many years while changing the colouring of accessories if they get tired of all the pink!

Although I doubt Noelle will hahaha.


The dots are also great because you can freehand apply them, I didn't need to measure or line anything up.

They're peel and stick decals so they could not be more simple to apply.

I started with one colour and used one of each then back to the first colour again.

My goal was to not have many of the same colour side by side.


A TIP:

To make your decals look more custom, almost wallpaper-like.

Cut some decals in half, 1/3, 2/3

And place in the crease of where the wall meets another wall or window or ceiling.


If you look to where the wall meets the ceiling you'll see what I mean by cutting some of the decals to fit that area and it really does make it look more professionally done.


via GIPHY

More DIY's to come!

Tuesday 14 July 2020

Trash Tuesday: Garbage stool makeover

I have no shame in digging things out of people's garbage piles.

There is so much life left in items & maybe the owner cannot see it but with a fresh set of eyes..
you can turn trash into treasure!

The kids and I did a little drive around trash hunt last night and I found some great things.

My mom is always giving away fantastic items so that's where this love came from.

She will give away something better, just to pick up something worse sometimes.

But isn't that the fun of it?!
Beauty is in the eye of the beholder!


My first find was a planter but that's not finished yet so let's show off this adorable step stool.


It was at the end of someone's driveway and it was rough man.
ROUGH.

Covered in cobwebs, dirty and icky.

You may want to drive around with some work/gardening gloves in the car for when you find these dirty things.


But I could see that it had good bones and it could be used for so many things.

First off, I sprayed it with the hose outside and left it overnight to dry.


Then I sanded it down a bit.

This is the sanding block I use - CLICK HERE affiliate link

Then I washed it with some TSP and water.
Tsp is a multipurpose cleaner and it works sooooo well.

Click here for TSP - CLICK affiliate link


I wanted to paint it in a pop of colour but I knew a darker shade would hide any imperfections so I went with the Fusion Mineral paint from our Local spot: The Painted Attic Click here for FB page

The Painted Attic is awesome and will help you with all your paint needs.
I have used fusion mineral paint on a handful of projects now and its suppose to hold up really well, indoor and outdoor.

This is the shade Liberty Blue.


While I was grabbing paint from the basement I saw this drink tray that I haven't used for years due to the style not fitting in with my current style.

But I had always loved how large this tray was so I could never bring myself to toss it.

Why not paint it??!


I had nothing to lose so I gave it one coat and I will keep you posted as to how it turns out!


I didn't have any rollers on hand so this was all done with a small sponge brush but I am off to the dollar store right now to grab some rollers and I will keep you posted over on instagram as to how it turns out.


After 2 coats I think it looks beautiful!!

Turned out even better than I had imagined and now I can't decide whether to use ut as a flower pot stand out on our deck or whether to find a cozy spot inside.

It's so cute!

Saved from the landfill <3 <3 <3