

Everything on the internet is fake, everything.
I just want to make sure you know that. lol.
But really, every dang thing is cropped, edited and highlighted to show the best possible portion of our lives and I'm not any different.
You know I'm 100% behind the FREE THE FACE movement (I think I invented it LOL), I want to think I am a champion for natural aging and showing the grey, wrinkled, jiggly bits but, that doesn't mean I don't tweak here and there to fake a pretty picture.
The nature of this blog beast is basically that I have to do some minimal editing..
I don't feel guilty about it because I mean the word minimal, and the larger of a following I get, the more I can influence 'Face freeing'... so don't call me a sell out just yet!
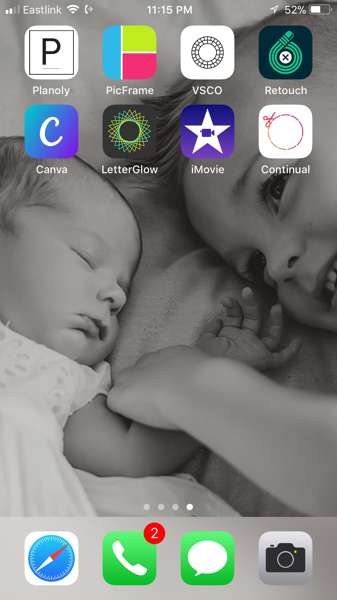
This is my blog/instagram work centre ^

Planoly (click here)
is what I use to see what photos will look like next to each other, before you post.
Honestly I don't do this often because I've stopped trying to mimic 'big bloggers' feeds, I care more about getting the info out to you than I care that theres been two food photos this week but zero face shots.
But at the same time sometimes its nice to see if you've done selfies in the last 25 posts, maybe a full body photo would be nice. This app connects to your instagram feed and you can 'fake' upload photos to see if you like the layout, you can also upload directly from there OR you can save the pic and upload it later.

Canva (click here)
I have no idea why I was so against getting Canva, its like I was giving into the man when I downloaded that app, but its genuinely so simple to use it makes all my blog cover photos (see first photo), my youtube covers AND my media kit!
Yep, I made my new media kit in Canva and it took about 5 minutes.
A Media Kit is basically a resume for bloggers (and similar) it hosts all of our social media data, blog traffic and blurbs about us. It's used to send to brands for partnerships etc, in my experience they have always cared more about the numbers/info on it than the presentation itself.
You still want it to look nice, clean, organized, spicy (lol I made mine a little saucy, shows some personality) but Canva did a fantastic job for a $0 price tag.

Lets talk about the photos...
I don't believe in face tune, I freaking hate the blurred skin pictures I see all over social media.
I understand the need, and I get how brainwashed we are into thinking we look better that way, but I refuse to partake, no matter how old, wrinkled, puffy, droopy I am.
You can call me a hypocrite because I love makeup and use the old look down/sideways at an invisible objects trick.
But I LOVE my wrinkles.
I really do, I look in the mirror and things that people would call 'flaws' I appreciate more than I ever have. I have this skin tag on my face, maybe you've noticed it, maybe you haven't, its never really bothered me but some people have made comments over the years. (why call it a skin tag tho that sounds BLECK lol)
I have hereditary under eye bags, I use skin care on them but I would never go more extreme than that, theres peach fuzz everywhere and I use to be insucure about it (because TONS of boys made fun of me over my life about this. likeWTF) now I just laser it off and move on.
I just want my kids to remember exactly this face, the skin, fuzz, saggy baggy truth.
So whenever I am making photos look pretty for Instagram I do as minimal editing on the face/body shots as possible. Especially if I am showing a makeup look, lipstick or eyeshadow obviously you're going to need the real unedited shot.
However...
there a time and place so when I edit I use VSCO (click here)
I typically brighten, contrast, crop and sharpen.
Sounds like a lot but it takes two seconds and then you get a lighter more crisp photo like the above fashion shot.
To be honest I edit my kids way more than myself, I know that sounds horrible but they aren't showing any skin/makeup colours, plus they're always moving and blurring themselves.
I use a combo of exposure, contrast, straightening and sharpening regularly on them.

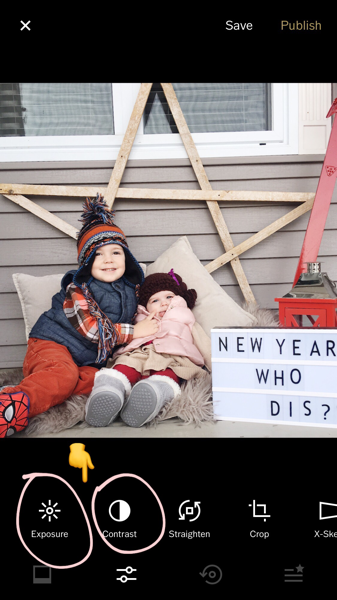

My final stop is the Retouch app (click here) which again killed me to get because its so sleazy but for the odd job here and there it is SUPER handy.
Our house is very dark and cluttered, it never makes for good photos so I always expose them a bit more and just for fun I used Retouch to edit out a piece of the photo below, can you see where?!?!?
Our house is very dark and cluttered, it never makes for good photos so I always expose them a bit more and just for fun I used Retouch to edit out a piece of the photo below, can you see where?!?!?


The tapes gone!
OOOooooh La La.
It's like magic!
or Retouch! ;)
And that's it! I don't use all these apps on every photo, I try to keep it as basic as possible and photograph as much as I can outside so I don't have to deal with these extra steps at all.
As far as the actual changing of the photos go I try to relate it to a professional photographer and what they would do for your wedding photos/family photos etc.
You wouldn't be happy if you paid good money for photos and every shot was a dark, dingy, half blinking photo. I am in a way selling myself to you in the blog/social media, I am working with brands who pay/offer product trade for exposure so it only makes sense to brighten things up.
I am also in no way a professional and I honestly shoot EVERYTHING with my iPhone.
That may be the worst or best kept secret of all time but every. single. photo you have ever seen on the blog or social media from me is iPhone camera roll.
I think my photos have been upgrading over time so I am happy, very happy with the growth :)

Ok movies, omg this is SO simple.
I film on my iPhone, I use iMovie to crop, speed up, add music, slow down, add text etc.
There's practically nothing that iMovie can't do!
Then I save the video, open it in the Continual App (click here) which chops it into 15 second clips to post to Instagram!
I feel like my mini Instagram movies changed the game for me a bit, people seemed to really like them and I loved having a bit of an up on other bloggers with my time lapse and music additions.
When I first started with the iMovie videos I use to painstakingly count on my fingers 15 seconds and crop EACH 15 second clip that way.
I knew there was easier ways but I was too lazy to look for them, but a follower suggested the Continual App and I will be forever grateful!
I don't do much editing for photos. Maybe I should? I usually lighten up a photo and hit post. I also admit I don't have swoon worthy photos...
ReplyDeleteGREAT info! Thanks so much for sharing your "secrets" XOXO
ReplyDelete